The Secret Behind Floating Fashion Photos
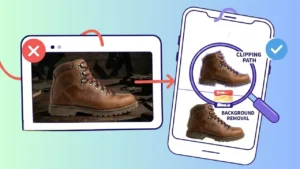
Have you ever noticed how clothes in online stores seem to float in mid-air, perfectly shaped as if worn but with no mannequin or model visible? That’s the ghost mannequin effect, one of the most popular photo editing tricks in e-commerce.
In simple terms, the ghost mannequin effect removes the mannequin from apparel photos, leaving only the natural shape of the garment. The result? A clean, realistic, and professional 3D look that highlights the product without distraction.
This editing technique helps shoppers imagine how clothes will fit, without needing a human model. Professional photo editing teams, like Clipping Path Zone, specialize in this service — helping brands and photographers make apparel look flawless for online stores.
In this guide, I’ll walk you through every step from photography to editing and show how you can create this stunning floating look using Photoshop, online tools, or even your iPhone.
What Is the Ghost Mannequin Technique?
Short answer: The ghost mannequin technique combines two or more photos of the same garment to remove the mannequin and show both the front and interior parts seamlessly.
Think of it as a magic trick in photography you make the mannequin “disappear,” leaving behind only the clothes, which appear naturally shaped and perfectly aligned.
This effect works best for t-shirts, jackets, dresses, and other apparel items that need to show structure. It’s often called invisible mannequin photography or 3D apparel photo editing.
E-commerce giants use it daily. It keeps focus on the clothing not the model — making the product appear more professional, detailed, and shop-ready.
How to Create a Ghost Mannequin Image: Step-by-Step
Let’s dive into the step-by-step process of creating the ghost mannequin effect from shooting to photo editing.
Short answer: To create a ghost mannequin image, photograph the front and inside of the garment, then combine the shots in Photoshop by removing the mannequin layer.
Step 1: Prepare and Style the Apparel
Before you even touch the camera, prepare the clothing. Iron or steam out every wrinkle. Adjust the fabric so it fits snugly on the mannequin. Use pins and clips to smooth out extra fabric.
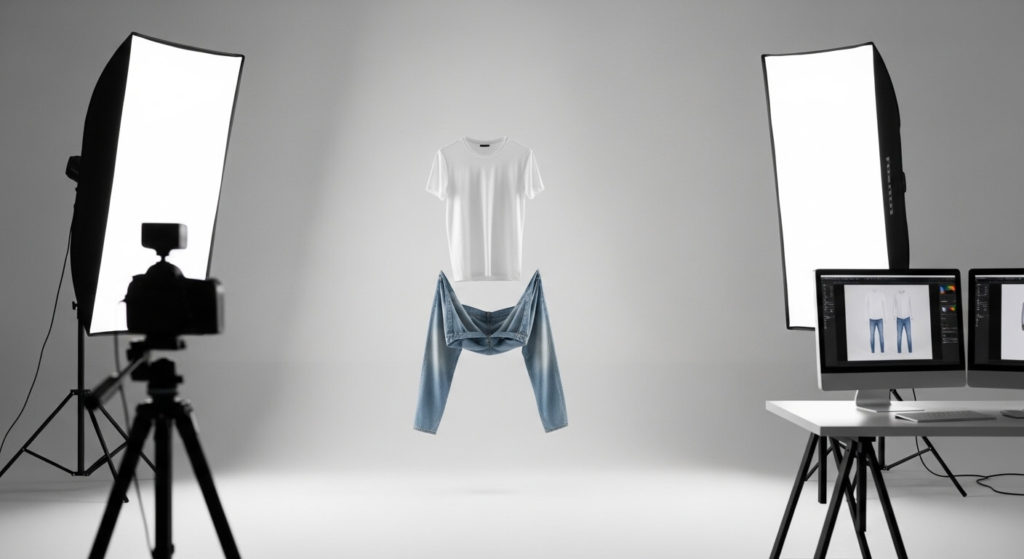
Step 2: Set Up Your Lighting and Background
Use a simple white or gray background. For even lighting, position two soft boxes at 45° angles to the garment. Avoid harsh shadows or reflections — you want flat, balanced light.
Step 3: Photograph the Front
Mount your camera on a tripod to keep the same angle for all shots. Take several photos of the garment on the mannequin. Capture every fold and edge clearly.
Step 4: Photograph the Interior
Now remove the garment from the mannequin and turn it inside out. Photograph the inner parts like the collar, cuffs, or inner tag. You can clip it to a foam board or place it flat just keep the lighting and position consistent.
Step 5: Edit the Images Together
Open both photos in Photoshop. Place the front photo above the interior one. Use the Quick Selection Tool or Pen Tool to remove the mannequin. Then, reveal the interior details from the layer below.
Adjust the position, align the seams, and use masking for clean blending. Add light shadows with the Burn Tool to make it look realistic. Finally, save the file — and you’ve got a professional ghost mannequin image!
👉 If you’re short on time, Clipping Path Zone can handle this editing professionally, ensuring every garment looks natural, consistent, and e-commerce-ready.
How to Create the Ghost Mannequin Effect Online
Quick answer: You can create the ghost mannequin effect online using free editors like Photopea or pro services like Clipping Path Zone.
Online editing platforms have made this process easier for non-designers. Tools like Fotor, Pixlr, or Photopea let you edit in your browser without downloading heavy software.
You simply upload your photos, layer them, and erase the mannequin area. However, online tools have limitations — they may not handle fine masking or detailed shadow work as precisely as Photoshop.
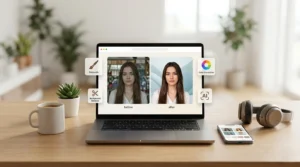
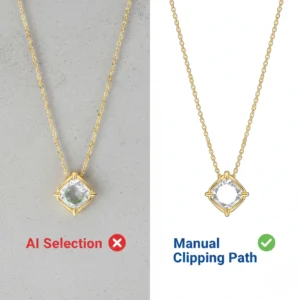
That’s why professional online services like Clipping Path Zone are a great choice. Their editors use both AI and manual refinement to ensure every garment looks clean and real.
If you’re experimenting, start with online editors. But for large product catalogs or premium results, trust the experts.
How to Create the Ghost Mannequin Effect on iPhone
Quick answer: You can use apps like Photoshop Express, Canva, or AI photo editing tools to create a ghost mannequin effect directly on your iPhone.
Modern smartphone cameras are powerful enough for product photography. Pair your iPhone with a tripod and good lighting. Shoot the front and inside just like you would in a studio setup.
For editing, use Photoshop Express, Lightroom Mobile, or remove.bg combined with layering tools in Canva.
AI-based apps like Photoroom or Remove It can also generate ghost mannequin effects automatically though results may vary.
For quick social media photos or small product shoots, iPhone-based editing is convenient. For professional catalog results, though, desktop tools or Clipping Path Zone services give better accuracy and detail.
How to Create the Ghost Mannequin Effect for Free
Short answer: Free tools like GIMP or Photopea can be used to create ghost mannequin photos by combining layers and removing the mannequin manually.
GIMP (GNU Image Manipulation Program) is the best free Photoshop alternative. It supports layer masking, selection, and blending everything you need for ghost mannequin editing.
Follow these steps:
- Import front and interior shots.
- Use the Free Select Tool to isolate the clothing.
- Delete the mannequin area.
- Place the interior photo below.
- Align and blend using opacity and shadows.
The process takes practice, but once you learn it, you can produce high-quality ghost mannequin effects for free.
Still, if you’re managing a business or shooting hundreds of SKUs, outsourcing to Clipping Path Zone saves time and guarantees consistency.
How to Create the Ghost Mannequin Effect in Photoshop
Short answer: In Photoshop, place the front photo over the interior layer, remove the mannequin using a mask, and blend both layers for a seamless result.
This is the most precise and popular method. Here’s a quick breakdown:
- Open both images front shot and interior.
- Place the front layer above the interior layer.
- Use the Pen Tool or Select and Mask to remove the mannequin.
- Align the collar or inner seam from the interior shot.
- Blend both layers using a soft brush on the mask.
- Add shadows to create depth.
- Save your final composite in high resolution.
Pro tip: Use a light drop shadow for realism. And if you ever feel unsure, Clipping Path Zone’s retouching team can perfect your edit.
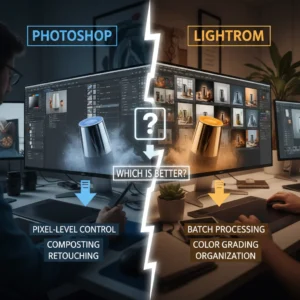
What Is the Best Software for Ghost Mannequins?
Short answer: Photoshop remains the best software for ghost mannequin photo editing, but AI tools are quickly catching up.
Here are the top tools professionals use:
- Adobe Photoshop – Industry standard for full control and precision.
- GIMP – Best free alternative.
- Photopea – Browser-based option with Photoshop-like tools.
- Canva Pro / Pixlr – For quick edits and social posts.
- AI Editors (Remove.bg, Photoroom) – Great for automation.
Professionals at Clipping Path Zone combine both Photoshop and AI-powered tools to balance speed and accuracy.
What Is the Ghost Mannequin Technique in Photography?
Short answer: The ghost mannequin technique in photography involves shooting garments on a mannequin and editing out the mannequin later.
It’s all about consistent lighting and angles. For best results:
- Use two soft boxes at 45° angles.
- Shoot against a neutral white background.
- Keep your camera steady with a tripod.
- Take one photo of the front and another of the inside.
When edited, the combined image shows how the clothing naturally fits giving a 3D look that flat lays simply can’t achieve.
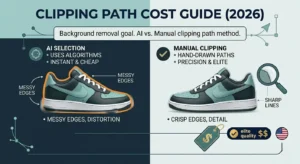
How Much Does Ghost Mannequin Photography Cost?
Short answer: Ghost mannequin photo editing typically costs between $5 and $30 per image, depending on complexity and service provider.
DIY editing is free but time-consuming. Professional services like Clipping Path Zone offer affordable bulk pricing, fast delivery, and consistent results ideal for e-commerce sellers managing hundreds of apparel photos.
For studio photographers, outsourcing saves hours and ensures client-ready results.
Who Can Help With Photoshop Retouching for a Ghost Mannequin?
Short answer: Companies like Clipping Path Zone specialize in professional ghost mannequin photo editing for photographers and e-commerce stores.
If you’re struggling with detailed selections, color consistency, or natural shadows, outsourcing can save you both time and frustration.
Clipping Path Zone provides:
- Precise masking and retouching.
- 100% manual edits (no over-smoothing).
- Fast turnaround within 24 hours.
- Secure file handling for large projects.
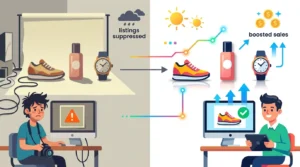
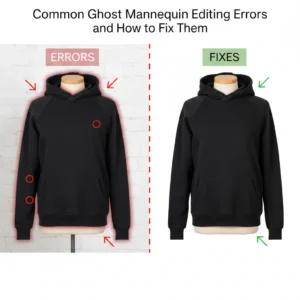
Product Photography for Apparel Sucks? Try Ghost Mannequin AI
Let’s be honest traditional product photography can be exhausting. Setting up mannequins, lights, angles it’s a lot. That’s why AI-driven editing tools are revolutionizing the field.
Ghost Mannequin AI uses machine learning to remove mannequins automatically and blend clothing layers in seconds. It’s fast, consistent, and surprisingly accurate.
But AI isn’t perfect it sometimes misses fine textures or distorts seams. That’s why Clipping Path Zone uses a hybrid approach: AI for speed, manual retouching for perfection.
This mix of automation and artistry gives clients flawless, natural-looking apparel photos every time.
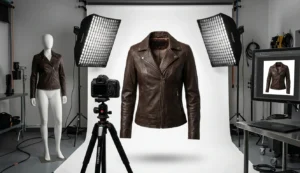
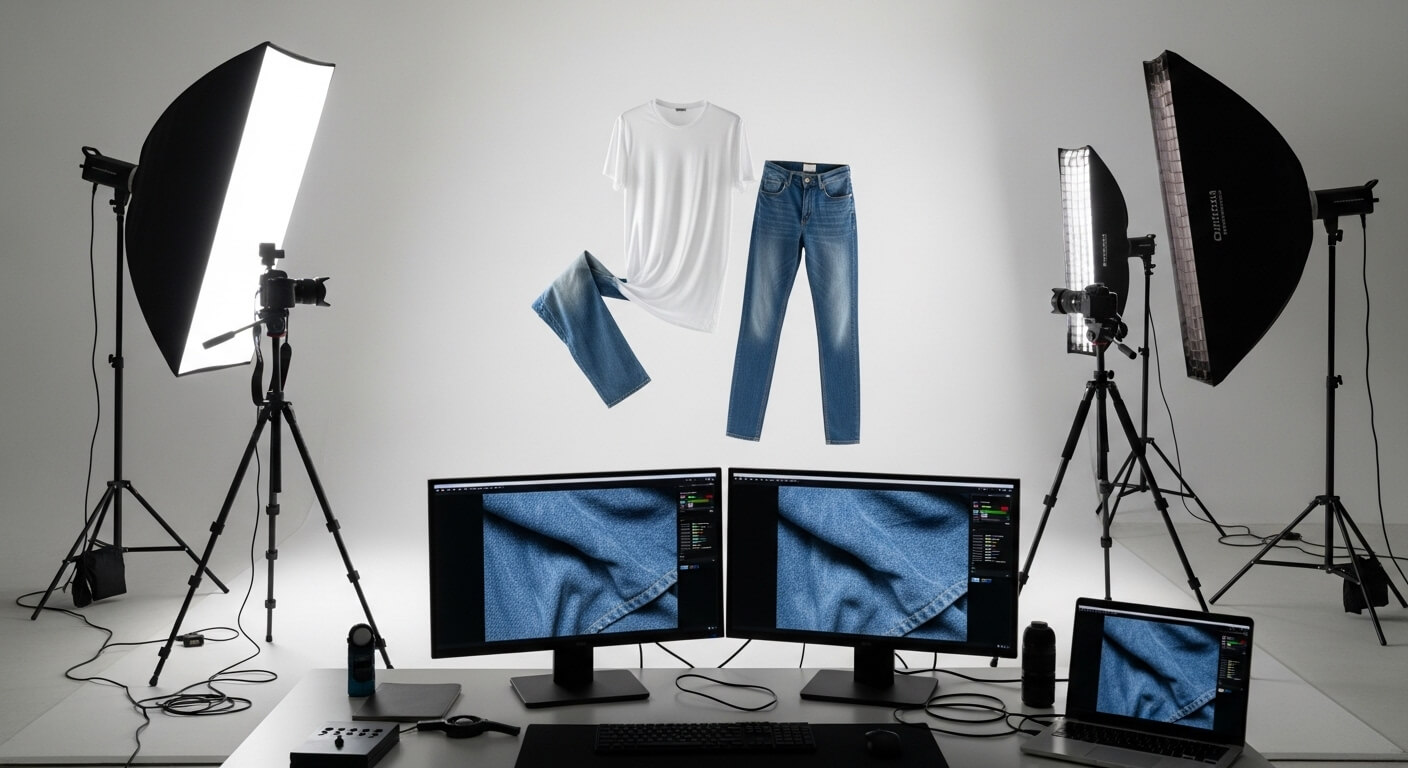
Lighting & Home Studio Setup Tips
Short answer: Use soft, balanced lighting to avoid shadows and reflections in ghost mannequin photography.
If you’re shooting from home, here’s what you need:
- Two softboxes or LED panels at 45° angles.
- White backdrop or seamless paper roll.
- Tripod to maintain alignment.
- Reflectors to reduce shadows.
For extra glow, use a diffused top light to soften highlights. You don’t need fancy equipment — just consistent, even lighting.
What Is the Best Ghost Mannequin Service for E-Commerce?
Short answer: Clipping Path Zone is one of the best ghost mannequin services for e-commerce, known for precision, fast turnaround, and affordable pricing.
They serve global clients from small Shopify sellers to large fashion brands and deliver professional ghost mannequin photos that drive conversions.
Benefits include:
- Consistent e-commerce-ready images.
- Affordable bulk pricing.
- Dedicated support and quality control.
- Realistic shadows and perfect alignment.
Whether you’re editing a few products or thousands, Clipping Path Zone ensures quality and speed every time.
FAQs
Q1: How can I make apparel products float in photos?
Combine two shots (front + inside) and remove the mannequin using Photoshop or AI.
Q2: Can I create the ghost mannequin effect on iPhone?
Yes! Use Photoshop Express, Canva, or AI photo editing apps.
Q3: What’s the easiest ghost mannequin photo editor?
Photoshop is best, but free tools like GIMP or Photopea also work.
Q4: Where can I get professional ghost mannequin editing?
Clipping Path Zone provides high-quality ghost mannequin services for e-commerce apparel.
Conclusion: Make Your Apparel Photos Stand Out
Creating the ghost mannequin effect isn’t just about removing mannequins it’s about making clothes come alive. This technique gives your product images a professional edge that increases trust and boosts sales.
Whether you use free tools, Photoshop, or rely on experts like Clipping Path Zone, mastering this method can transform your fashion brand’s visuals.
So next time you’re shooting apparel, remember with the right setup and a touch of editing magic, your clothes don’t need a model to look amazing.