


Leather is simple yet tricky. When I first photographed leather bags years ago, I thought it would be like shooting any other product. But I was wrong. Leather reacts to light in its own way. It has shine. It has deep texture. It can look dull or too bright if you miss the right setup. Over time, I learned small steps that make a big difference. And in this guide, I will walk you through what works. I will keep the words short and clear so it feels like we are talking in the studio together.
Understanding Leather in Product Photography
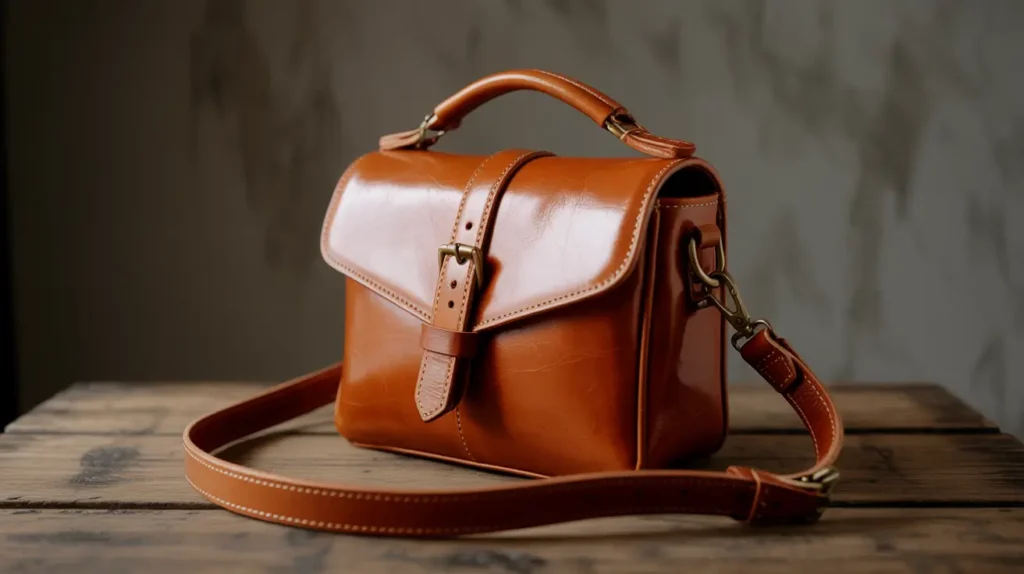
Leather is not flat or smooth like plastic. It has pores and grains. Some leather shines more than others. When you shoot it, these traits show up fast. Think of leather like a face. It needs soft light to look clean. It needs angles that highlight texture but do not wash it out. Once you understand this, your leather product photography improves fast.
Once you understand this, your product photography will improve fast.
Why Good Lighting Matters
Light is the biggest part of leather photography. When light is too hard, the leather looks harsh. When light is too soft, the texture gets lost. I learned this after many failed shots. Good lighting brings balance. It keeps the detail. It keeps the true color. And it makes the product look real and high quality.
If you’re editing your shots later, tools like background removal or color correction help keep the final image clean and natural.
Basic Studio Setup for Leather Products
You do not need a big studio. A small table, two soft lights, and white cards work well. Place the product at eye level. Keep the lights at a 45° angle. Add a diffuser if the light feels too sharp. When I shoot bags, I keep a fill card on the dark side to bring back soft details.
Choosing the Right Light Source
Continuous lights help you see how the leather reacts in real time. Strobes work great too if you know your settings. I use softboxes for most leather shots. They make the light smooth. Avoid bare bulbs. They create bright spots on shiny leather surfaces.
Working With Soft Light
Soft light is your friend. It helps the leather look rich and smooth. I use large softboxes or umbrellas. The bigger the light source, the softer the result. You can test this by moving the light closer or farther. Close light = soft and even. Far light = stronger shadows.
Handling Shine and Glare on Leather
Glare is the most common problem. If you see bright hot spots, move your light to the side. You can also add a diffuser sheet to soften the reflection. Sometimes, a polarizing filter helps cut unwanted shine. I use it when shooting glossy leather shoes.
Backgrounds That Make Leather Stand Out
Simple backgrounds work best. White makes the leather look clean. Black makes the color pop. Light brown or grey adds warmth. When I shoot fashion items, I pick shades that match the mood. A soft texture behind the product can look nice too, but keep it subtle.
If you want to experiment, try a ghost mannequin effect for leather jackets or bags. It gives a 3D look that attracts buyers online.
Camera Settings for Clean Leather Shots
Keep your ISO low to avoid noise. I shoot at ISO 100. Use f/8 or f/11 to get the full product in focus. A tripod helps keep the shot sharp. Shoot RAW so you can adjust color in editing later. Leather needs color accuracy, so RAW is important.
How to Capture True Leather Texture
Texture is key in leather product photography. To show grain, use angled light. A side light reveals small shadows inside the grain. When the texture looks flat, tilt the product a bit or move the side light closer. Think of how sunlight hits a tree bark. The angle brings depth.
Shooting Different Leather Types
Different leather types react in different ways:
Soft Leather
It absorbs light. So use stronger light or a reflector to boost detail.
Shiny Leather
Keep the light wide and soft to prevent harsh reflections.
Matte Leather
Very easy to shoot. Just keep balanced light.
Textured Leather
Use angled light to reveal the pattern.
Each type needs a quick test shot to see what works best.
Top Product Retouching Tips
Retouching is a big part of leather product work. Here are simple steps I follow:
Remove Dust and Spots
Use the Healing Brush in small strokes.
Fix Color
Match the shot to the real product.
Smooth Without Losing Texture
Use low-opacity tools. Keep texture intact.
Brighten Dark Areas Gently
Stay natural. Leather should not look flat.
If you handle many photos, you can use professional image editing services to save time and keep consistency.
Leather Texture Editing Tricks
When editing leather texture, the goal is to keep it real. I use Dodge and Burn to bring life back into dull spots. Zoom in and work slow. If the leather looks too soft, add clarity or texture in small amounts. Do not overdo it. Natural is always better.
Color Fixing for Leather Goods
Leather color can shift due to light. Brown may look red. Black may look blue. Fix this by adjusting white balance. Use the eyedropper tool on a neutral spot. Compare with the real product. Adjust hue until it matches. True color builds trust in your photos.
Making Shadows Look Real
Shadows help make the product look grounded. I add natural shadows to keep the product from floating. Use a soft brush under the product. Lower opacity. Shape the shadow to match the light direction. When done right, the product looks real and three-dimensional.
For more depth, see this shadow creation guide.
Final Checks Before Delivery
Before sending the final files, I always check:
- Color accuracy
- Texture clarity
- Even lighting
- Clean background
- No dust or marks
- Shadow balance
This small checklist saves time and ensures professional results.
Conclusion
Leather product photography may look simple, but it needs care. The right light, clean angles, and smart editing bring out the best in every piece. With the tips I shared, you can capture rich texture, true color, and smooth shadows. These steps work for bags, shoes, belts, jackets, and all kinds of leather items. The goal is to show the product as it is—honest, sharp, and ready to impress.
FAQs
1. How do I avoid glare in leather product photos?
Use soft light, diffusers, or a polarizing filter. Move the light to the side to reduce hot spots.
2. What is the best light for leather photography?
Soft, even light works best. Large softboxes or umbrellas are ideal.
3. How do I keep leather texture visible in photos?
Use angled lighting from the side to reveal grain and depth.
4. Should I shoot leather products in RAW?
Yes. RAW lets you fix color and lighting without losing detail.
5. How do I edit leather texture without making it look fake?
Use light Dodge and Burn, small healing strokes, and avoid strong filters.
