Welcome to this tutorial on transforming a regular photograph into a stunning artistic portrait using advanced techniques. In this screencast guide, we’ll walk you through the steps to create an artistic portrait from a photograph that will enhance your social media engagement and captivate your audience. You’ll need a screen recorder, a video editor, and Adobe Photoshop CS5, available on Google Play, to follow along.
How to Create an Artistic Portrait from a Photograph?
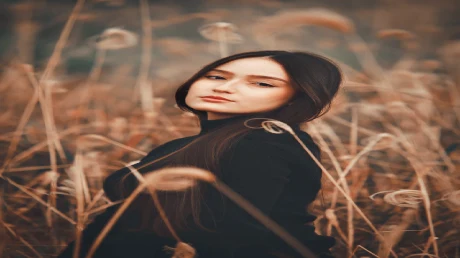
Whether you’re an experienced photographer or just starting out, this screencast tutorial will get you going on a whole new level regarding portraits. Let’s dive in and discover the magic of crafting compelling artistic portraits from photographs.
Step 1: Setting Up
Begin by installing a reliable screen recorder from Google Play. This will allow you to capture every detail of your creative process for your video creation. Launch the screen recording application and open your preferred photo editing software, Photoshop CS5.
Step 2: Selecting the Photo
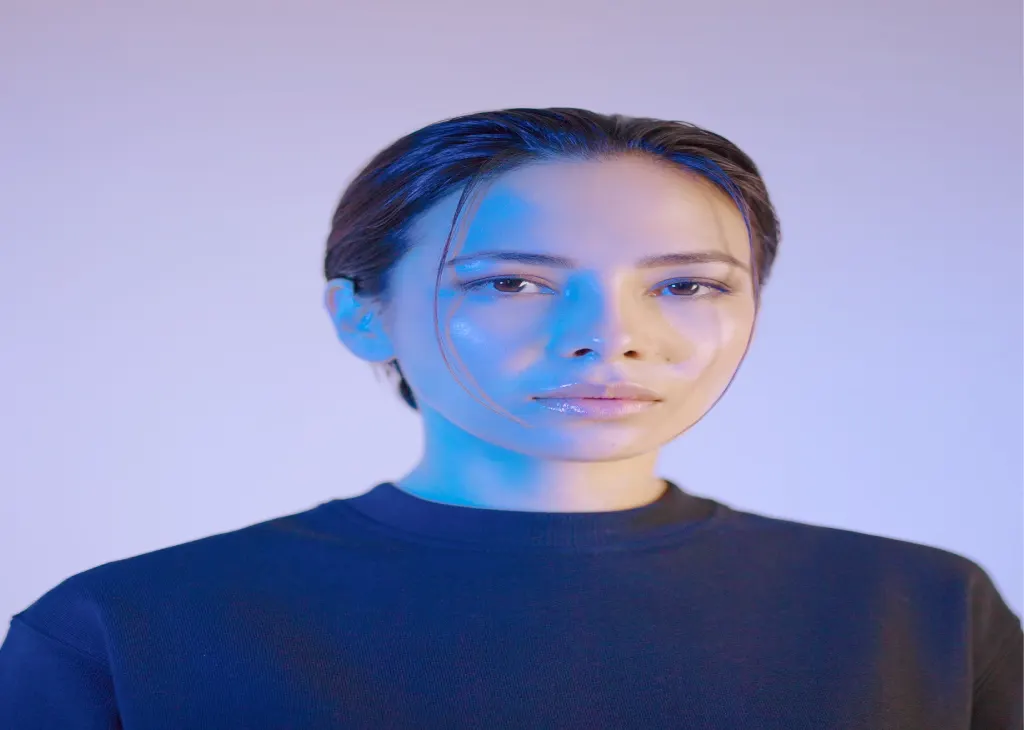
Choose the photograph you want to transform into a beautiful painting-like portrait. This could be a portrait you’ve taken yourself or one you’ve sourced from stock photography. Remember, the quality of the original photo will greatly impact the final result.
Step 3: Tracing the Outline
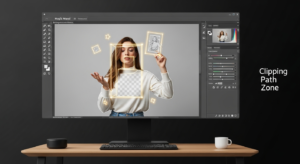
Using Photoshop CS5’s powerful pen tool, trace the outline of the subject in your photograph. This meticulous step ensures accurate masking in the subsequent steps. Take your time and pay attention to details, as this is the foundation of your artwork.
Step 4: Masking and Highlighting
Create pixel masks to isolate different elements of the photograph, such as the subject’s face, clothing, and background. With pixel masks in place, you can apply targeted edits and highlights, adding depth and dimension to the portrait. This technique will help highlight the finer details and create a more realistic painting-like effect.
Step 5: Applying Advanced Techniques
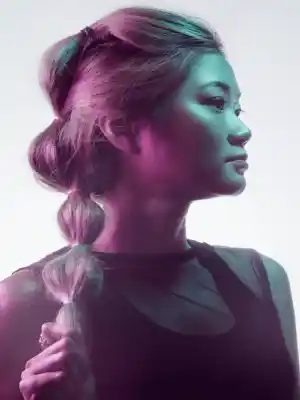
Now it’s time to unleash your creativity. Experiment with various Photoshop brushes and blending modes to give your portrait a unique texture. Use techniques like dodging and burning to enhance shadows and highlights, adding depth and realism to your artwork.
Step 6: Adding Captions and Enhancements
Incorporate captions into your video to explain your techniques and the thought process behind each edit. These captions will make your screencast more informative and engaging, allowing your audience to follow your creative journey more effectively.
Step 7: Finalizing Your Video
Once you’re satisfied with your artistic portrait, stop the screen recording. Import the recording into your chosen video editor. Trim any unnecessary portions and add transitions to create a seamless viewing experience. Overlay captions and explanations to guide your viewers through each step of the process.
Step 8: Sharing and Engagement
Now that your video creation is complete, it’s time to share it on your social media platforms. The captivating process of transforming a photograph into a beautiful painting like portrait will likely attract your followers’ attention and engagement. Make sure to use relevant hashtags and descriptions to maximize the reach of your content.
Conclusion
Now you’ve successfully created an artistic portrait from a photograph using advanced techniques and a well-structured screencast. This process not only results in stunning visual artwork but also provides valuable insights into your creative process. By sharing your video on social media, you’re likely to garner attention and appreciation for your unique photography and digital art skills.


