In this Adobe Photoshop action tutorial, I am going to show you how to make an interesting creative effect of creating transparent clothes on a woman’s body.
In the Photoshop actions, I would like to find some pictures for the background where we will create our cool transparent dress effect in a futuristic style. Open up the picture. On this canvas, I am going to demonstrate to you the transparent magic effect. Now, we need to find some appropriate pictures of women in bikinis to work with. You can find the picture you need on Google Images.
Select the Polygonal Lasso Tool to divide the woman’s silhouette from the white background.
Holding the Alt button cut away the inner parts of the background between hands and body.
Okay, now press Ctrl+C to copy the selected area, then go back to the main picture with the interior background and press ctrl+V to paste the copied part of the image. Then, reduce it a little bit and move it down accordingly.
Since the girl was cut with a white background, her contour shines white a little. How can we fix this? Very easy! Just apply the Inner Glow layer style for the current layer.
The result should be next:
Looks better now, but still not so realistic. Apply the Burn Tool (Brush: 40 px, Range: Midtones, Exposure: 30%) to burn a little bit of bright parts of the body, such as hands and legs.
Okay, time to create the magic transparent dress. It will be nice if we create it from flowers. In this case, we should find some pictures of chamomile. Use Google Images to find appropriate pictures. Make a copy of the picture and paste it into our main canvas.
Now, use the Magic Wand Tool to select the black background which is out of chamomile. The selected area can be cleared by pressing Delete.
Remove selection with Ctrl+D. Then, apply Edit > Free Transform to reduce flower size in the photo editing section.
Duplicate this layer a few times to create the upper and lower contour dresses and add one flower as hair decoration.
Duplicate the last layer with the flower again and press Ctrl+T slightly. We need smaller flowers to create dress straps. Also, add more flowers to the dress’s bottom.
Now, duplicate the smaller size flower one more time and press Ctrl+T to reduce the flower size more. Copy this smallest size flower a few times more to pave the strings area from the left and right sides.
After that, we can bring a few different size flower decorations to the dressing area.
The next step is to move on. Go to the woman silhouette layer and create the same selection with the Polygonal Lasso Tool as in my picture below.
After that, press Ctrl+Shift+J to cut the selected part of the image on the new layer. Then set up generative fill opacity to 0% and apply Inner Glow and Color Overlay layer styles for this layer:
The result should be next:
Now we have one small hole in the dress bottom. The Polygonal Lasso Tool can be used to remove this defect by creating a selection such as that shown below. Any background color can be applied to this selected area.
Remove selection with Ctrl+D. Merge all the layers together except the interior background and woman silhouette. Duplicate the received layer and apply Filter > Blur > Gaussian Blur for the copied layer.
Change the layer mode to Soft Light for this adjustment layer mask and the following will appear:
Now, merge the current layer with the previous and apply Filter > Other > High Pass with similar settings to these:
The result should look like mine in the picture below.
That is it for now! We got a cool transparent dress in a futuristic style in this Photoshop tutorial. I am pretty much finished with this tutorial, thanks for taking the time to read it!
Why High-Quality Product Images Matter for E-commerce
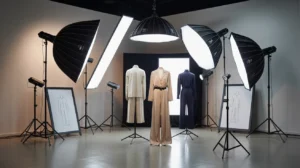
In eCommerce, especially for clothing and fashion products, images are everything. Customers can’t touch or try the product—so your visuals become the main decision-making factor.
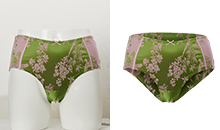
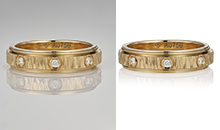
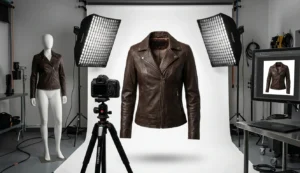
For clothing items like dresses or fashion wear, clean and professional editing (such as clipping path, background removal, or creative effects) helps highlight product details, fabric texture, and overall appeal.
-
Clear images build trust and professionalism
-
High-quality visuals increase click-through rate and conversions
-
Proper editing ensures products look consistent across your store
This becomes even more important when selling to international markets. Customers shopping from global stores like
Terea Dubai or STC expect premium-quality product presentation.
If your images look unprofessional or unclear, they are more likely to leave and buy from competitors.
