
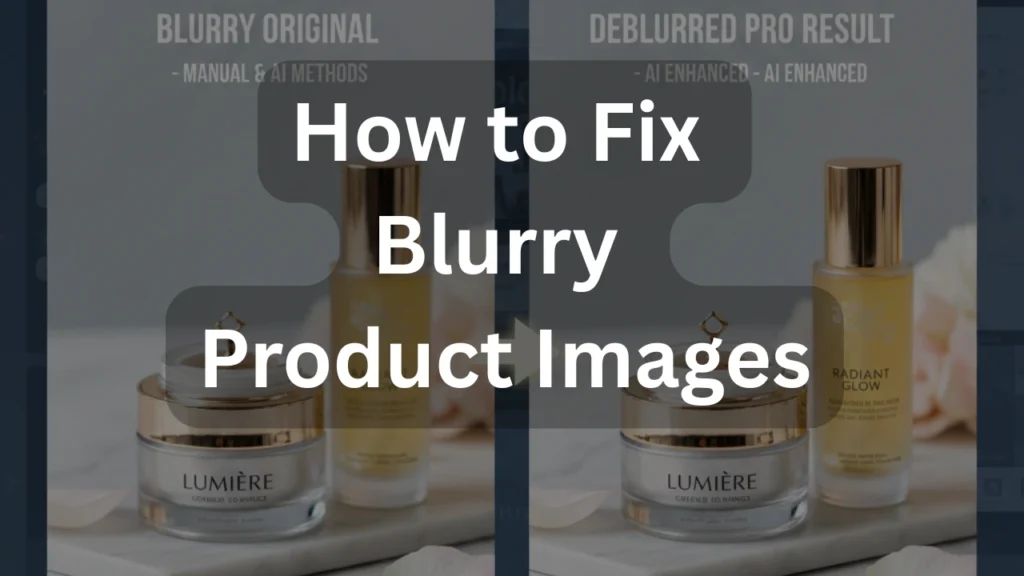
A single blurry product image can quietly damage your conversion rate.
In e-commerce, customers cannot touch or test your product. They rely entirely on what they see. When images look soft, pixelated, or out of focus, shoppers subconsciously associate that lack of clarity with poor quality. On competitive platforms like Amazon and Shopify, sharp visuals are not optional — they directly impact sales performance.
Blur can occur due to camera shake, incorrect focus, low resolution, compression, or improper export settings. The good news? Many blurry product images can be significantly improved using advanced AI tools or professional manual retouching methods.
This guide explains:
- How to fix blurry product images using AI
- When Photoshop manual sharpening works better
- The difference between motion blur and focus blur
- When an image cannot be saved
- How to prevent blur in future shoots
Whether you’re selling in the USA, UK, or globally, this step-by-step guide will help you protect your product presentation and boost buyer confidence.
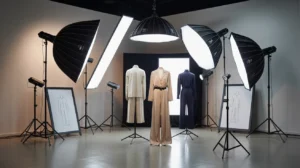
Why Sharp Product Images Matter for E-commerce
Your product image is your digital shopfront.
Research consistently shows that high-quality visuals are among the top factors influencing online purchase decisions. In crowded marketplaces, customers compare listings within seconds. If your image looks less professional than competitors, you lose trust instantly.
Clear, high-resolution product photos:
- Improve click-through rate (CTR).
- Increase time on page.
- Reduce return rates.
- Boost conversion rate.
- Strengthen brand credibility.
Blurry images signal low quality control. Sharp images communicate professionalism.
Motion Blur vs. Focus Blur: Why Understanding the Difference Matters
Before attempting to fix blur, you must identify the type.
Motion Blur
Occurs when the camera moves during exposure. Edges appear streaked or smeared in one direction. This type of blur can often be improved with AI or advanced sharpening filters.
Focus Blur (Missed Focus)
Happens when the lens focuses behind or in front of the product. The detail was never captured. This is much harder to repair because sharpening cannot recreate information that does not exist.
Professional editors evaluate blur type before applying corrections — a step many automated tools overlook.
How to Fix Blurry Product Images: The AI Method
AI-powered tools use neural networks to reconstruct missing pixels and enhance edges. They are fast, beginner-friendly, and ideal for batch processing.
Popular tools include:
- Topaz Photo AI
- Remini
- Adobe Firefly
Step-by-Step AI Sharpening Process
- Upload the Highest Resolution Version
Always start with the original file. Avoid compressed images. - Select the Appropriate Sharpen Model.
Choose motion blur correction if camera shake is visible. - Adjust Strength Carefully
Keep sharpening between 40–60%. Over-sharpening causes halos and artefacts. - Upscale (Optional)
Increase resolution by 2x if needed for marketplace standards (i.e., - Zoom to 100%.
Always inspect at full zoom to check for artificial textures or plastic-looking surfaces.
Pros of AI
- Extremely fast
- Good for mild blur
- Ideal for large product catalogues
- Beginner-friendly
Cons of AI
- May create artificial textures
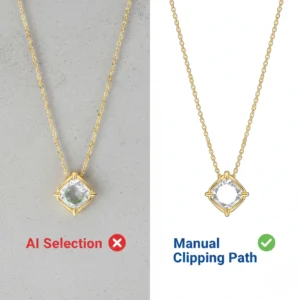
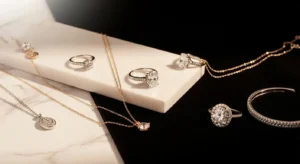
- Struggles with jewellery, lace, or intricate patterns
- Less control over fine detail
AI works best for general blur and minor sharpness correction.
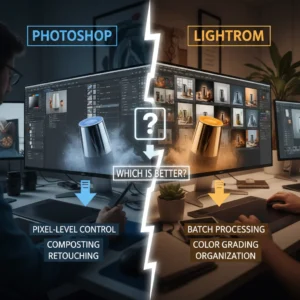
How to Fix Blurry Product Images: The Manual Photoshop Method
Professional editors often prefer manual sharpening because it provides pixel-level control.
The industry-standard tool is Adobe Photoshop.
Method 1: High Pass Filter (Best for Fine Detail)
The High Pass technique sharpens edges without amplifying noise.
Steps:
- Duplicate the layer (Ctrl/Cmd + J).
- Go to Filter → Other → High Pass.
- Set the radius between 1.0 and 3.0 px.
- Change the blend mode to Overlay or Linear Light.
- Adjust opacity to control intensity.
This method preserves natural texture and avoids harsh artefacts.
Method 2: Smart Sharpen (Best for Lens Blur)
Smart Sharpen is more advanced than the traditional Unsharp Mask.
Steps:
- Filter → Sharpen → Smart Sharpen
- Set “Remove” to Lens Blur.
- Amount: around 120–150%
- Radius: under 2 px
- Use “Reduce Noise” to prevent grain.
This method works well for mild focus issues.
Advanced Professional Workflow Tip
Professional retouchers follow this order:
- Colour correction
- Exposure adjustment
- Background cleanup
- Texture refinement
- Sharpening (last step before export)
- Resize
- Final export sharpening (light pass)
Sharpening too early in the workflow can amplify noise during later edits.
When a Blurry Image Cannot Be Saved
If the product is completely out of focus, sharpening will only exaggerate distortion.
In such cases, you have two realistic options:
- Reshoot the product.
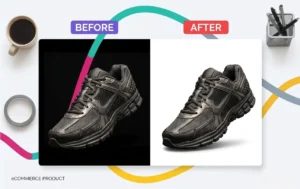
- Replace the background and enhance the overall presentation to minimise perceived softness.
Many e-commerce brands salvage slightly soft images by placing products on clean white backgrounds and adding subtle natural shadows to create depth.
If blur is severe, reshooting is often more cost-effective than over-editing.
Why Images Look Blurry on Amazon or Shopify
Sometimes the issue is not the photo — it’s platform compression.
- Upload images at 2000px or larger on the longest side.
- Export in the sRGB colour profile.
- Avoid over-compression.
- Do not upload screenshots or social media versions.
Both Amazon and Shopify apply compression algorithms that can soften images if resolution is too low.
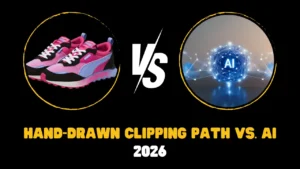
AI vs. Manual Sharpening: Quick Comparison
| Feature | AI Method | Manual Photoshop |
|---|---|---|
| Speed | Seconds | Minutes |
| Control | Limited sliders | Full pixel control |
| Best For | Mild blur, bulk editing | Commercial-level product photography |
| Texture Preservation | Moderate | Excellent |
| Learning Curve | Low | Moderate |
For small stores, AI may be enough.
For premium brands, manual refinement often delivers superior realism.
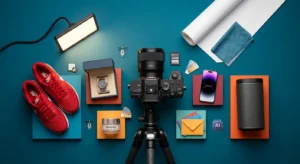
Pro Tips to Avoid Blur in Future Product Shoots
Prevention saves editing time.
1. Use a Tripod
Eliminates camera shake, especially in low light.
2. Increase Lighting
More light allows faster shutter speed and better depth of field.
3. Use f/8 or f/11 aperture.
Keeps the entire product in focus.
4. Use a Remote or 2-Second Timer
Prevents hand-induced movement.
5. Shoot in RAW Format
RAW files retain more detail, giving more sharpening flexibility.
Should You Fix It Yourself or Outsource?
If you manage 10–20 products, DIY editing is manageable.
If you manage 100+ SKUs, seasonal launches, or marketplace compliance standards, manual editing becomes a bottleneck.
Many successful USA and UK e-commerce brands outsource image editing so they can focus on marketing, ads, and growth.
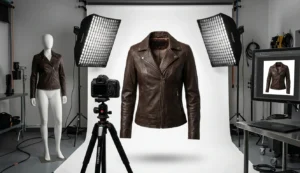
Professional editors don’t just sharpen. They:
- Restore natural texture.
- Maintain realistic skin or fabric tones.
- Remove distractions.
- Optimise for marketplace compression.
- Apply subtle, conversion-focused finishing touches.
High-quality product images are not an expense. They are a conversion optimisation investment.
Final Thoughts
Blurry product images don’t just look bad — they reduce trust.
AI tools offer speed and convenience. Manual Photoshop methods offer control and realism. The right approach depends on the severity of the blur and your business scale.
If your product images represent your brand, clarity is not optional. It is part of your sales strategy.
Sharpen smart. Edit carefully. And when necessary, invest in professional refinement.