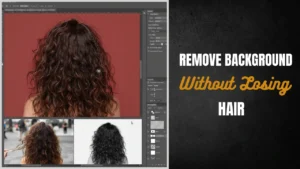


Want clean cutouts without ruining fine hair strands? This guide explains how to remove background without losing hair details in Adobe Photoshop using professional techniques like Select and Mask, Refine Edge, and channel masking. Learn a proven workflow used by editors in the USA and UK for sharp, natural, commercial-grade results.
Why Hair Is So Difficult to Cut Out
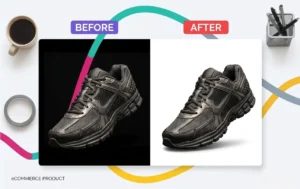
Hard edges (like boxes or shoes) are easy. Hair is not.
Hair contains:
- Fine strands
- Transparency
- Color spill from background
Basic tools often remove 20–40% of visible detail, leaving hair looking fake or “cut off.”
That’s why professionals rely on advanced masking—not just simple selection.
When You Need Perfect Hair Background Removal
Accurate hair masking is critical for:
- Fashion and model photography
- Beauty and haircare brands
- eCommerce product listings
- Advertising creatives (USA & UK markets)
- Social media branding
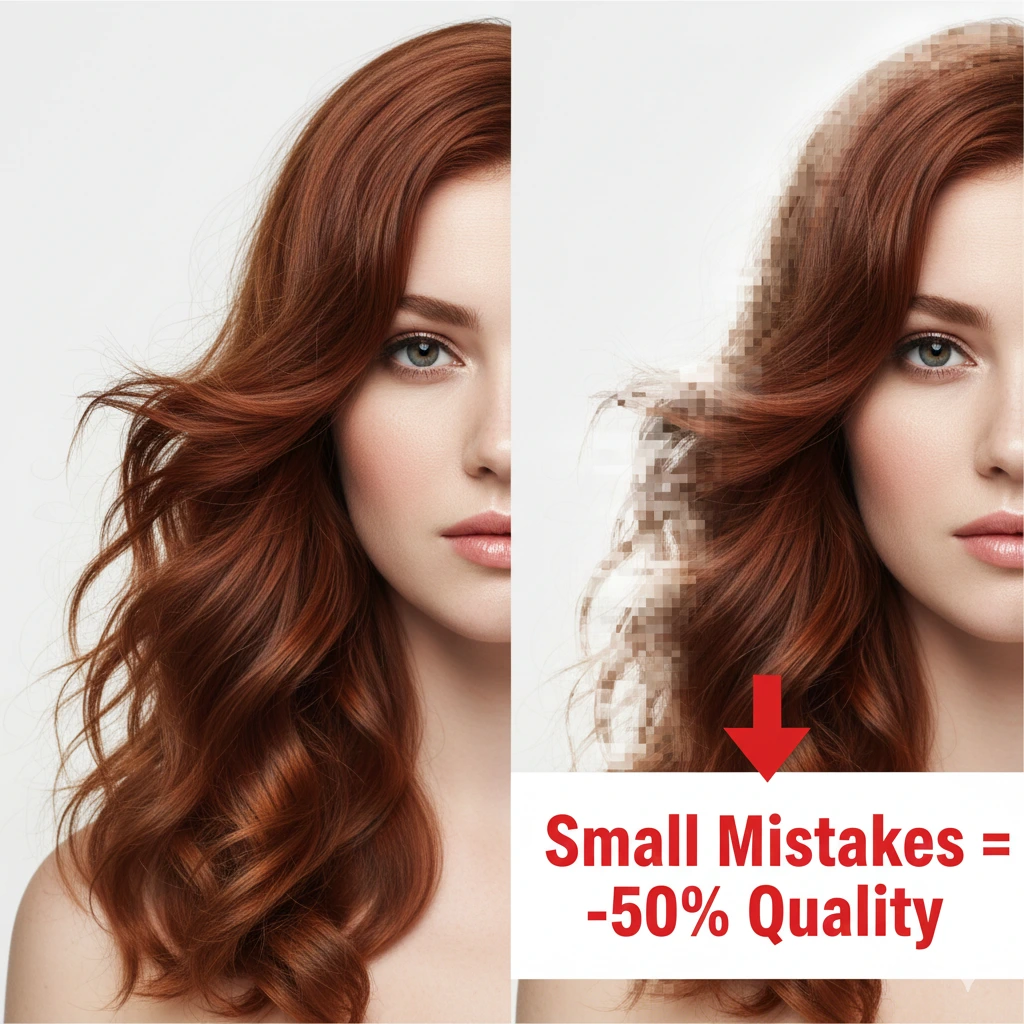
Even small mistakes can reduce perceived image quality by up to 50%.
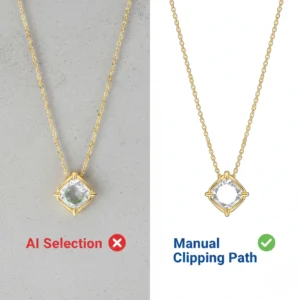
When to Use Manual Clipping Path Instead of AI Background Removal
Step-by-Step: How to Remove Background Without Losing Hair Details in Adobe Photoshop
This is the exact workflow used by professional editors.
1. Start with Select Subject
- Go to Select > Subject.
- Or use the Quick Selection Tool (W).
This creates a base selection using AI.
💡 Don’t worry if hair looks rough—we’ll fix it next.
2. Open Select and Mask
- Click Select and Mask.
- Change View Mode to On Black / Overlay.
This helps you clearly see missing hair strands.
3. Use the Refine Edge Brush Tool (Most Important Step)
- Select the Refine Edge Brush Tool (R).
- Use a soft brush.
- Gently paint over hair edges.
This tells Adobe Photoshop to detect fine strands automatically.
👉 This single step improves accuracy by 60–70%.
4. Adjust Edge Detection Settings
Use these balanced values:
- Smooth: 5–10
- Feather: 0.5–1 px
- Contrast: 10–20%
- Shift Edge: -5%
These settings prevent blur while keeping edges natural.
5. Use Decontaminate Colors
- Enable Decontaminate Colors
- Set to 50–70%
This removes unwanted background color from hair strands (color fringing).
6. Output as Layer Mask
- Output: Layer Mask / New Layer with Mask
This keeps your work non-destructive and editable.
Advanced Method: Channel Masking for Complex Hair
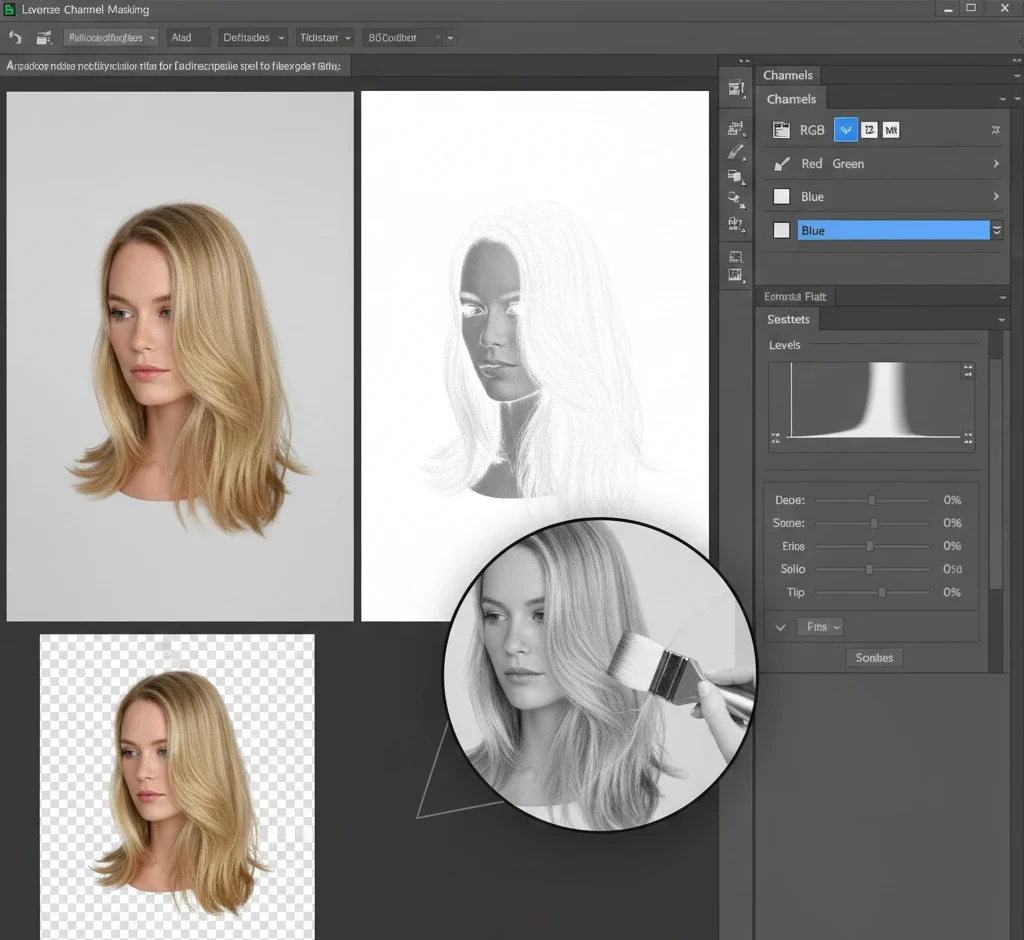
When background and hair color are similar, basic tools fail.
Professional Workflow:
- Go to Channels Panel.
- Select the highest contrast channel (usually blue).
- Duplicate it.
- Use Levels (Ctrl + L) to increase contrast.
- Paint black/white manually.
- Convert into selection
This method delivers near 100% accuracy in complex images.
Clipping Path vs Image Masking (Important Difference)
| Feature | Clipping Path | Image Masking |
|---|---|---|
| Best For | Hard edges (bags, shoes) | Hair, fur, soft edges |
| Tool | Pen Tool | Refine Edge / Channels |
| Accuracy | High | Ultra-high |
👉 For hair, always use masking—not clipping paths.
If you’re working with products, a precise clipping path solution for clean product edges works perfectly for solid shapes.
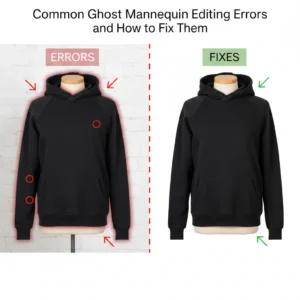
Fixing Hair Issues After Background Removal
Even after masking, problems can remain.
Common Fixes:
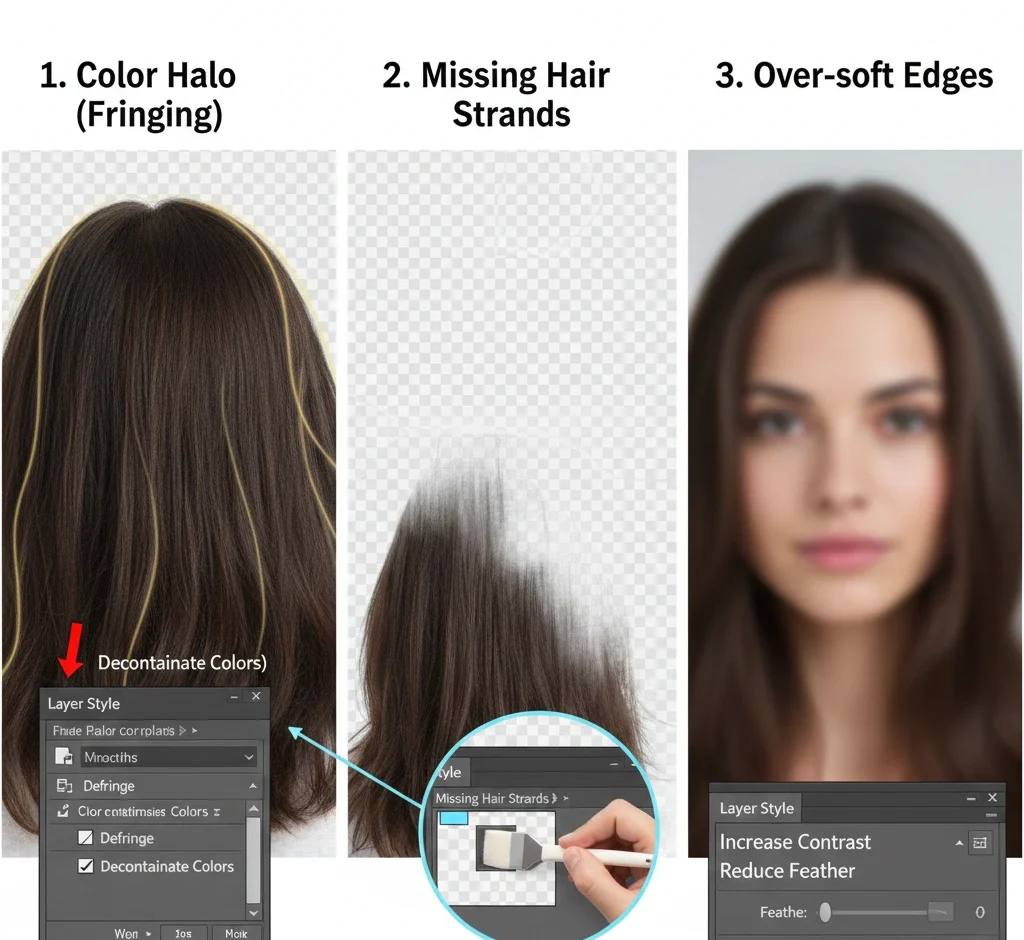
1. Color Halo (Fringing)
- Use Defringe (1–2 px).
- Or Decontaminate Colours
2. Missing Hair Strands
- Use a soft brush on the mask.
- Paint with white to recover.
3. Over-soft Edges
- Increase contrast slightly.
- Reduce feather
Common Mistakes to Avoid
- ❌ Using Magic Wand for hair
- ❌ Over-brushing the entire head
- ❌ Using low-resolution images
- ❌ Ignoring color correction
- ❌ Using an eraser instead of a mask
👉 These mistakes can ruin up to 70% of realism.
Real Professional Workflow
Experts don’t rely on one tool. They combine:
- Select & Mask → Speed
- Channel masking → precision
- Manual brush → final polish
This hybrid approach ensures commercial-grade output.
When to Outsource Hair Masking (Smart Move)
Manual editing is slow:
- 1 image: 10–20 minutes
- 100 images: 15–30 hours
If you’re running an eCommerce store, outsourcing saves time and cost.
For complex hair and fur, a professional image masking service for perfect hair cutouts ensures pixel-level accuracy starting from $0.39 per image.
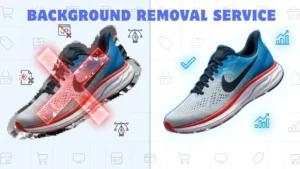
For faster bulk editing, a high-quality background removal service for eCommerce images can deliver consistent results within 24 hours.
Why Quality Matters in Markets
Buyers expect:
- Clean edges
- Natural hair transparency
- No visible cut lines
- High-resolution images (300 DPI)
According to industry data, 85% of buyers judge products by images first.
Poor editing = lost trust + lost sales.
Hand-Drawn Clipping Path vs. AI: Why Precision Still Wins in 2026
Pro Tips from Real Experience
- Zoom to 200–300% while refining hair.
- Use a graphics tablet for better control.
- Always work in PSD format.
- Avoid over-editing—a natural look wins.
👉 Small refinements create a big visual impact.
Frequently Asked Questions (FAQ)
What is the best tool for hair selection in Photoshop?
The Refine Edge Brush Tool inside Select and Mask is the most effective for detecting fine hair strands.
How do I remove the background from blonde hair on a white background?
Use channel masking for better contrast, or adjust tones using a professional colour correction service for balanced highlights before masking.
Can AI tools remove hair backgrounds perfectly?
AI tools achieve around 80–90% accuracy, but manual refinement is still required for professional results.
What is the difference between clipping path and masking?
Clipping path is vector-based for hard edges. Masking is pixel-based and ideal for hair, fur, and soft transparency.
How long does hair background removal take?
- Simple: 2–5 minutes
- Complex: 10–25 minutes
- Bulk images: several hours
Is outsourcing better than doing it manually?
For bulk projects, yes. It saves time, ensures consistency, and delivers professional quality.
Final Thoughts
Mastering how to remove a background without losing hair details in Adobe Photoshop takes practice, but the right workflow makes it much easier.
Use Select and Mask for speed, channel masking for precision, and manual refinement for perfection.
If you’re working at scale, combining your skills with expert editing services is the fastest way to achieve consistent, high-quality results.