


If you’ve ever snapped a product photo that looked great in your head but turned out… meh? You’re not alone. I’ve been there shooting my cousin’s handmade soaps on the kitchen table thinking, “How hard can it be?” Turns out, it’s not just about the camera. It’s how you use it.
Whether you’re an eCommerce store owner, a product photographer, or someone selling on Amazon or Etsy, nailing your camera settings is the secret sauce. In this guide, I’ll walk you through the best camera settings for product photography using plain English, real examples, and tips I’ve learned the hard way.
And hey, if you’re just starting out or want to save time editing your photos, check out our clipping path services. At Clipping Path Zone, you can request your first 3 images free to see our quality before you decide.
Why Camera Settings Matter
Let’s get real great product photography isn’t about owning a fancy camera, it’s about knowing your settings. Your camera is just a tool, like a paintbrush. And knowing how to adjust ISO, aperture, and shutter speed is like understanding your palette.
Short answer: The right camera settings help you capture sharp, true-to-color images that make your product pop and sell.
What Is ISO and Why It Matters in Product Photography
ISO controls your camera’s sensitivity to light. A low ISO like 100 makes your photos clean and sharp. A high ISO like 1600 brightens your image but adds noise—think grainy textures.
Snippet answer: Use low ISO (100-200) for clear, crisp product photos especially when using artificial or studio lighting.
Analogy: Think of ISO like your eye’s pupil. In bright light, your pupil shrinks (low ISO). In darkness, it widens (high ISO) but things start looking fuzzy.
Best ISO Settings for Sharp Product Shots
| Lighting Setup | Recommended ISO |
| Studio Lights | 100 – 200 |
| Natural Daylight | 100 – 400 |
| Low Light Indoors | 400 – 800 (tripod needed) |
Avoid high ISO unless you’re okay fixing noise in post.
What Does Aperture Do in Product Photography?
Aperture is the size of your lens opening measured in f-stops like f/8, f/11, f/16.
Quick tip: A smaller aperture (like f/11) keeps your entire product in focus. Larger apertures (like f/2.8) blur parts of your image, which is better for portraits not products.
Ideal Aperture Settings (With Depth-of-Field Tips)
| Product Type | Ideal Aperture |
| Jewelry | f/11 – f/16 |
| Clothing (on mannequin) | f/8 – f/11 |
| Flat lay items | f/7.1 – f/9 |
| Large objects | f/5.6 – f/8 |
Best practice: Stay between f/8 and f/11 for eCommerce it’s the sharpness sweet spot.
If you edit jewelry shots, try our jewelry retouching services for pixel-perfect shine.
Jewelry photography can be tricky because every gemstone and metal reflects light differently. From my experience, even tiny scratches or dust show up under high magnification, which is why both sharp camera settings and careful post-editing matter. When shooting, I stick to f/11 or higher to keep all the details crisp, then use controlled lighting to avoid harsh reflections. And when it comes to polishing the final look, a professional clipping path for jewelry service makes a huge difference by separating fine edges like chains, rings, and gemstones with precision. In short, getting jewelry photos right is about patience during the shoot and accuracy during editing.
Clean jewelry photos require narrow apertures, careful lighting, and precise clipping path editing.
How Shutter Speed Affects Product Image Sharpness
Shutter speed is how fast your camera takes the photo. The slower it is, the more light hits your sensor but any shake causes blur.
Tip: With a tripod, you can use slow shutter speeds (like 1/10). Without one, stick to 1/125 or faster.
| Scenario | Suggested Shutter Speed |
| On Tripod (Static Item) | 1/10 – 1/60 sec |
| Handheld Shots | 1/125 – 1/250 sec |
| Moving Products (e.g., pour shots) | 1/500+ sec |
The Exposure Triangle: ISO, Aperture & Shutter Speed
These three settings are like balancing water, flour, and eggs in a cake recipe. Mess one up? Your shot flops.
Best combo for products: ISO 100, Aperture f/8 – f/11, Shutter speed adjusted for exposure.
Visual Checklist:
✅ Use low ISO
✅ Choose narrow aperture
✅ Adjust shutter speed based on lighting
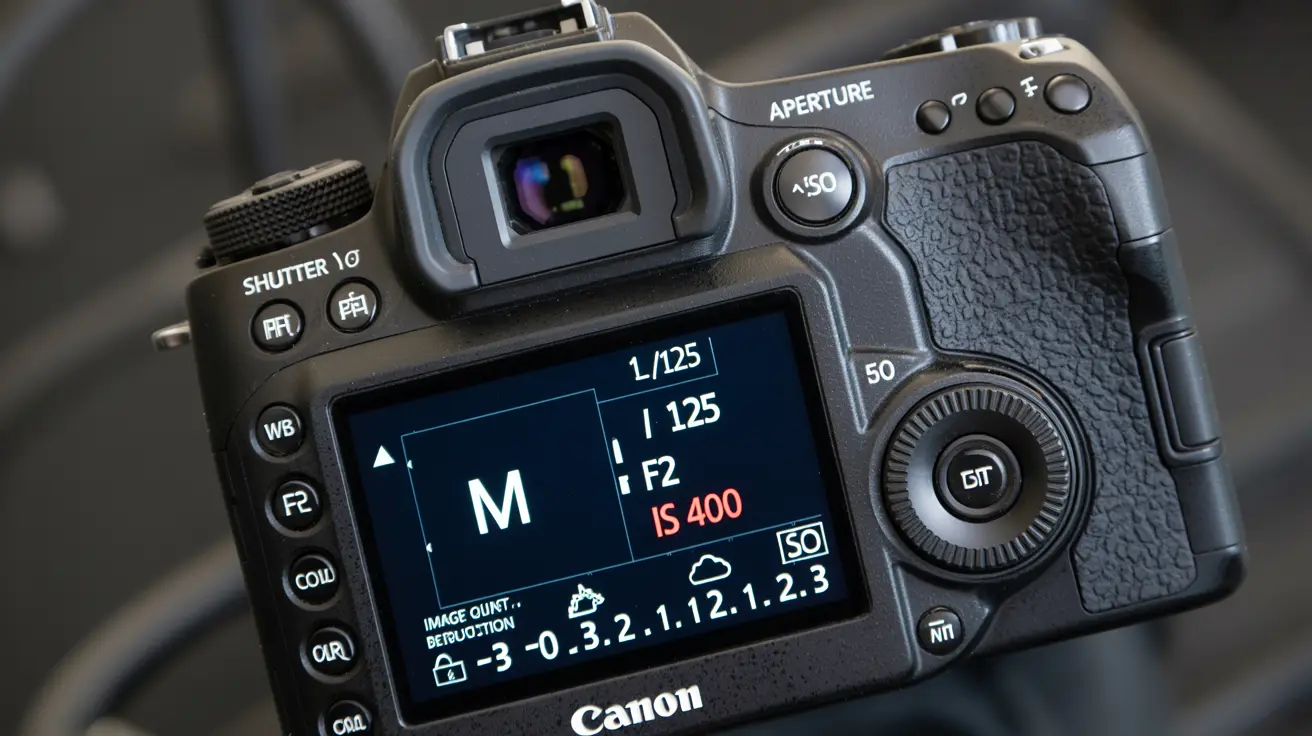
Why You Should Shoot in Manual Mode
Manual mode puts you in control. Auto mode guesses it doesn’t understand your product’s needs.
Short answer: Manual mode guarantees consistent lighting, focus, and quality across every photo.
Pro Tip: It may feel slow at first, but once you dial it in, your shots will thank you.
What Is White Balance and Why You Should Care
White balance tells your camera what “white” looks like. Auto mode often gets it wrong, making white look blue or yellow.
Fix it manually: Use custom white balance or set it to match your light source (like “Daylight” or “Tungsten”).
Where to Set: On most cameras, you’ll find white balance in your quick menu or settings panel.
RAW vs JPEG: Which Format is Best?
Shooting RAW is like recording a song in a studio it keeps all the data. JPEG compresses it.
Best for editing: RAW files let you fix mistakes in exposure, color, and sharpness.
If you want your shots retouched fast, try our photo retouching services or our eCommerce photo retouching services.
Extra Pro Tips
-
For ghost mannequins, shoot at f/8–f/11. See our professional ghost mannequin service.
-
For many products, multiple clipping path service helps separate parts for editing.
-
Want to learn more? Check our guide: How to do clipping path in Photoshop.
Need help editing? Choose a trusted clipping path service provider and focus on shooting. Your product photos will look pro, even if you’re not.
| Feature | RAW | JPEG |
| File Size | Large | Small |
| Editable | High | Limited |
| Quality | Uncompressed | Compressed |
| Ideal For | Pros/editing | Quick uploads |
How to Set Up Your Camera for Product Photos
Here’s a simple cheat sheet:
✅ Set ISO to 100
✅ Set Aperture to f/8 – f/11
✅ Adjust Shutter Speed to balance exposure
✅ Set White Balance manually
✅ Shoot in RAW
✅ Use Tripod
✅ Use Manual Mode
Bonus Tip: Always lock focus manually or use a single-point auto focus.
Common Camera Modes: Manual vs Aperture Priority
| Mode | Use Case |
| Manual (M) | Full control—best for product photos |
| Aperture Priority (A/Av) | Quick but less consistent |
| Auto | Avoid—it overrides your vision |
Quick advice: Use Manual for consistency, especially when shooting many items.
Lighting + Camera Settings: A Match Made in Studio Heaven
Natural light is soft and free but changes quickly.
Studio lights are consistent and adjustable. Match your camera settings to your light source.
Don’t forget: Light affects all three settings in the exposure triangle.
Pro Tips for Avoiding Blurry Product Photos
- Always use a tripod
- Turn on the 2-second timer
- Use remote shutter or tethering
- Double-check focus point
- Don’t shoot handheld below 1/125
Final Thoughts: Practice, Patience & Post-Production
Mastering product photography doesn’t happen overnight. But with the right camera settings, good lighting, and a dash of patience, you’ll soon be creating scroll-stopping images that convert.
Need help cleaning up your photos?
👉 Request Your First 3 Images Free at Clipping Path Zone
👉 Get Instant Cost Estimate with our pricing calculator
👉 Subscribe & Save on Bulk Editing
Let us handle the edits—so you can focus on shooting.
📢 Real Customer Reviews:
“I followed this guide and my product photos finally look professional! Thanks to Clipping Path Zone for the perfect edits!”
— Samantha G., Shopify Store Owner
“Manual mode used to scare me, but this made it simple. Plus, CPZ’s editing service polished everything beautifully.”
— Brian T., Amazon Seller
🤔 Frequently Asked Questions (FAQs)
- What is the best ISO for product photography?
The best ISO is usually 100 to 200 for the cleanest image quality, especially in well-lit settings. - Should I always shoot in manual mode?
Yes, manual mode gives you complete control for consistent product photos across a series. - Is RAW format really better than JPEG?
Absolutely. RAW retains all image data, which is crucial for detailed edits in post-processing. - Can I shoot product photos without a tripod?
You can, but it increases the risk of blur. A tripod ensures stability and sharper results. - Which aperture is ideal for eCommerce product shots?
Stick between f/8 and f/11 for the best depth of field and sharpness.
Want results without the stress?
Clipping Path Zone is here to help. Request Your First 3 Images Free and see the difference for yourself.
Let your camera do the shooting let us handle the perfection. 📸✨


