


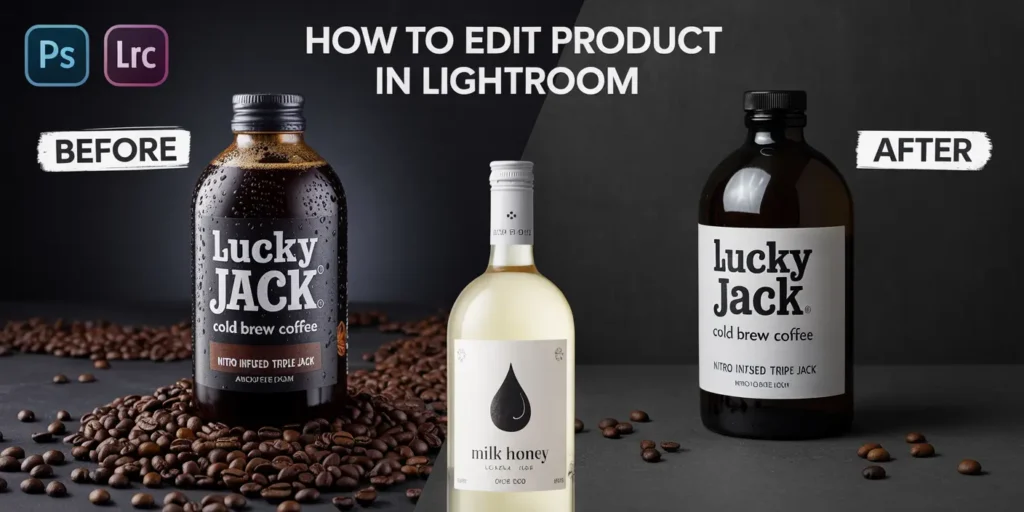
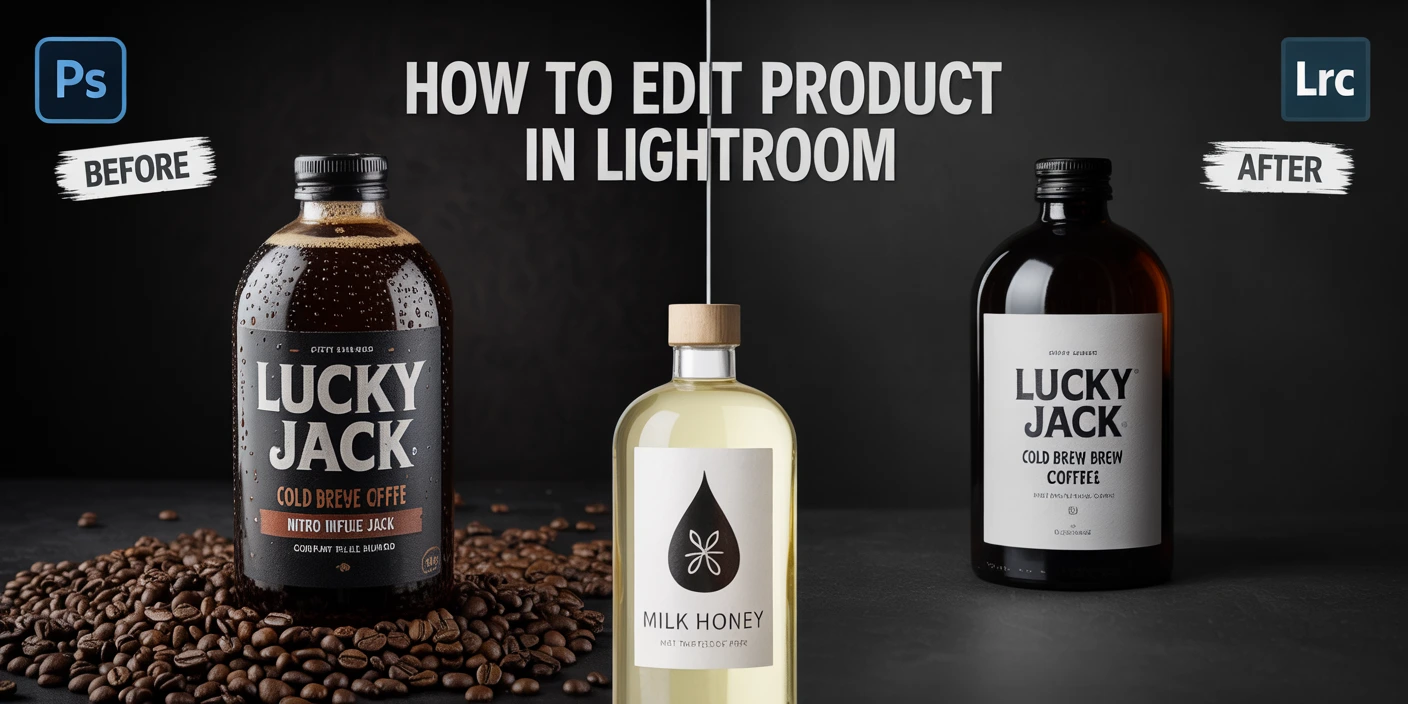
Imagine browsing an online store, excited to buy a product—but the photos look dull or off-color. You scroll past, right? That’s why product photography isn’t just about snapping a picture—it’s about editing it the right way. And Lightroom? It’s a total game-changer.
Whether you’re a pro photographer or a small business owner, knowing how to edit product photos in Lightroom can dramatically improve your visuals—and your sales. From white balance to batch syncing, Lightroom helps you turn ordinary shots into attention-grabbing assets.
Looking for professional-level edits without lifting a finger? Clipping Path Zone offers expert retouching, ghost mannequin edits, and more. Request your first 3 images free!
✅ Try our clipping path services – your first 3 images are free!
What Is Lightroom Used for in Product Photography?
Lightroom is a powerful photo editing tool designed to fine-tune images for clarity, color accuracy, and presentation. For product photos, it’s essential because customers judge quality based on visuals alone.
Here’s what Lightroom lets you do:
- Adjust white balance for true-to-life colors
- Fine-tune exposure and brightness
- Batch edit with Sync for time-saving consistency
- Remove minor flaws or dust using Spot Removal
The Develop module is your command center. It’s where all the magic happens from cropping to color correction.
Work with a clipping path service company for pro results.
👉 Fun fact: White balance tweaks can turn a yellowish shirt back into its true white tone.
Why Use Lightroom to Edit Product Images in 2025?
Because time is money—and Lightroom saves both.
Why pros prefer Lightroom:
- Batch processing: Perfect for stores with hundreds of SKUs
- Non-destructive editing: You can always revert to the original
- RAW file support: Unlocks maximum editing flexibility
- Cloud syncing: Edit from desktop, phone, or tablet
Why white balance is crucial
Ever seen a white t-shirt look blue online? That’s poor white balance. Lightroom fixes that in seconds.
📢 “Want faster editing? Subscribe & Save on Bulk Editing with Clipping Path Zone!”
Must-Know Lightroom Tools for Product Photo Editing
| Tool | What It Does |
| White Balance | Corrects color tone to reflect reality |
| Exposure | Adjusts brightness levels |
| Contrast | Enhances depth and sharpness |
| Highlights/Shadows | Recovers hidden details |
| Clarity | Sharpens edges and enhances texture |
| Vibrance/Saturation | Makes colors pop (without overdoing it) |
➡️ TIP: Always start with white balance and exposure for best results.
Step-by-Step: How to Edit Product Photos in Lightroom
✅ Step 1: Import & Organize
Use folders and naming conventions to keep things clean.
✅ Step 2: Adjust White Balance
Use the eyedropper tool on a neutral white or grey surface.
✅ Step 3: Fix Exposure & Contrast
Tweak sliders until the image looks balanced and sharp.
✅ Step 4: Highlight & Shadow Recovery
Bring back texture in fabrics or metallic surfaces.
✅ Step 5: Boost Clarity
Use it carefully—it can make images pop or look too harsh.
✅ Step 6: Crop & Straighten
Use the grid lines for perfect alignment.
✅ Step 7: Spot Removal
Click and drag to remove dust or product imperfections.
✅ Step 8: Sync Settings
Edit one image, then apply the same changes to the rest.
✅ Step 9: Export for Web or Print
Choose JPEG, 72dpi, sRGB for online. TIFF for print.
🛒 Want More Than Lightroom?
Lightroom is powerful, but manual edits add magic.
Check out these pro services:
-
Ghost mannequin services – make clothes look 3D
-
Jewelry retouching services – for shiny, detailed shots
-
Photo retouching services – fix spots, colors, and more
-
Multiple clipping path service – perfect for complex products
-
See pricing for bulk or individual edits
Need fast edits?
🚀 Get a quote now!
Lightroom Sync: Edit Faster with Batch Tools
Lightroom’s Sync Settings tool lets you copy adjustments from one photo to others.
When to use it:
- You’ve shot 50 products under the same lighting
- You want consistent branding across your catalog
Pro tip:
Save synced edits as a custom preset for even faster editing next time.
🟢 “Request Your First 3 Images Free” at Clipping Path Zone to see the magic of batch edits done right!
Best Lightroom Export Settings for eCommerce
| Platform | Format | Resolution | Color Space |
| Shopify | JPEG | 1200px width, 72dpi | sRGB |
| Amazon | JPEG | 1000px min. width | sRGB |
| Etsy | JPEG | 2000px+ recommended | sRGB |
Use TIFF only when printing catalogs or magazines. For web, JPEG rules.
Using Lightroom Presets for Consistent Product Photos
Presets are like photo filters—but smarter. They apply pre-saved settings to any photo.
Best for:
- Creating a branded look (warm vs. cool tone)
- Seasonal promotions
- Speeding up batch edits
You can buy presets, download free ones, or create your own.
➡️ “Need help designing a preset? Clipping Path Zone offers custom style guides too!”
Editing on the Go: Lightroom Mobile vs. Desktop
Lightroom Mobile is surprisingly powerful.
Best for:
- Quick fixes
- Uploading to social media
What it lacks:
- Advanced spot removal
- Tethered shooting
- High-volume batch processing
📲 “On your phone? No problem. Lightroom Mobile handles most edits just fine.”
Lightroom vs. Photoshop: Which One’s Better?
| Feature | Lightroom | Photoshop |
| Batch Editing | ✅ | ❌ |
| Retouching | ⚠️ Limited | ✅ |
| Background Removal | ❌ | ✅ |
| Workflow Speed | ✅ | ❌ |
👉 Use Lightroom for 90% of the work. Use Photoshop for background removals or major retouching.
🛠 Need complex edits? Let Clipping Path Zone handle background removal or mannequin editing.
Common Lightroom Editing Mistakes to Avoid
- Over-sharpening can make images look harsh
- Too much contrast hides details
- Ignoring white balance leads to color mismatch
- Not cropping leaves distractions in the frame
Remember: Less is more.
Tips to Speed Up Your Lightroom Workflow
- Use Auto-Sync when editing groups of photos
- Create custom presets for frequent use
- Use keywords and ratings to organize files
🟢 “Subscribe & Save on Bulk Editing” with Clipping Path Zone to skip all this hassle.
Who Should Use Lightroom for Product Photography?
- eCommerce store owners who want consistency
- Photographers managing client product shoots
- Social media marketers who need high-quality visuals fast
✅ Lightroom Classic for professionals
✅ Lightroom CC for cloud-based workflows
What’s Next? Presets, Metadata, and Branding
- Apply metadata for SEO (title, alt-text, keywords)
- Develop a preset style guide for brand consistency
- Explore Lightroom tethered capture for real-time previews
➡️ Looking to level up? Get a quote from Clipping Path Zone today.
Conclusion
There you have it—how to edit product photos in Lightroom, step by step. From white balance to export settings, this powerful tool can transform your photos, save you hours, and help your brand shine.
💡 Not sure where to start? Let Clipping Path Zone take care of your edits while you focus on growing your business.
🟢 “Get Instant Cost Estimate” now or “Request Your First 3 Images Free!”
FAQs
01. Can Lightroom remove backgrounds from product photos?
Not accurately. Use Photoshop or professional services like Clipping Path Zone.
02. Is it better to shoot in RAW or JPEG for Lightroom editing?
RAW offers more flexibility and detail during editing.
03. Which Lightroom version is best for product photos?
Lightroom Classic is better for bulk and desktop workflows.
04. Should I crop product photos before or after editing?
After. You’ll have a better idea of composition once edits are done.
05. Can I use Lightroom presets for all my product photos?
Yes! Especially if you want a consistent brand look.


