
What Is the Pen Tool, Really?
The Pen Tool in Photoshop lets you draw paths that can turn into selections, masks, or shapes. It’s the key to clean edits and perfect cutouts. But let’s be honest it looks terrifying at first.
Why It Looks Scary (But Isn’t)
When I first clicked on the Pen Tool, I expected it to behave like a paintbrush. Nope. It just plopped a dot. Then another dot. And suddenly… lines? What was going on? Turns out, it’s more math than art—but once you get it, it’s kind of magic.
When I First Met the Pen Tool
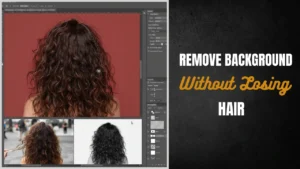
My first real job with the Pen Tool was cutting out a model with wild curly hair. Rookie mistake. I thought I’d quit Photoshop forever. But after a few YouTube tutorials and a lot of swearing, it clicked. And once it clicked? Total game-changer.
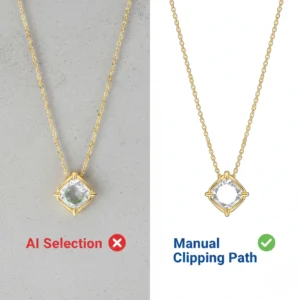
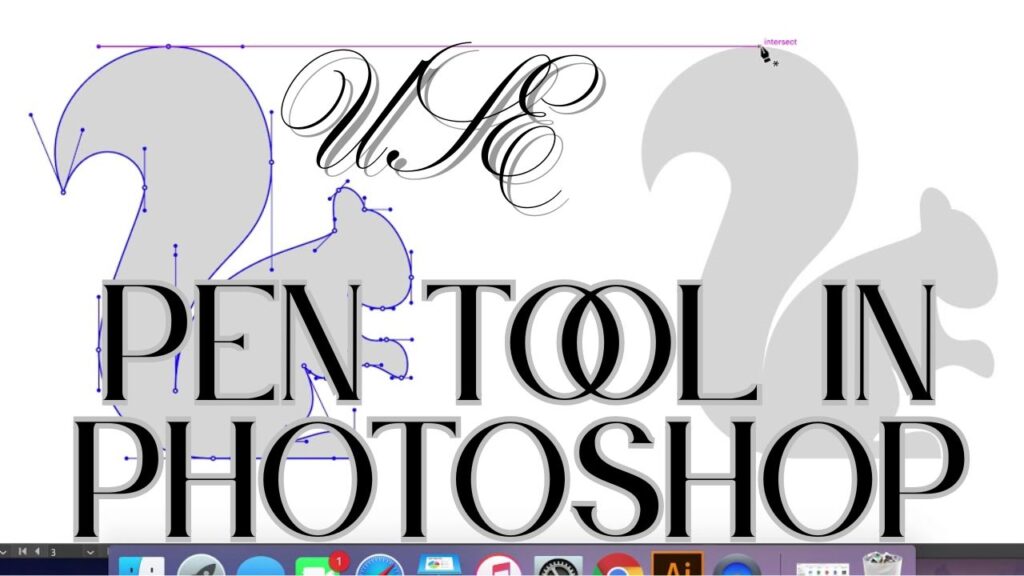
♥Below is a visual image of the pen tools in details, it will be of great help♥
Where to Find the Pen Tool
Photoshop hides the Pen Tool in plain sight. Just hit P on your keyboard, or look for the fountain pen icon on the toolbar.
Meet Your New Best Friend: Shortcut “P”
Quick tip: always use keyboard shortcuts. “P” gets you to the Pen Tool instantly. Saves time, and once it becomes muscle memory, you’ll feel like a ninja editor.
Types of Pen Tools in Photoshop
Photoshop actually gives you a few versions of the Pen Tool. Here’s how they differ (and when to use each):
The Classic: Standard Pen Tool
This one’s for precise, controlled work. You click to make anchor points. If you drag while clicking, you make curves. It’s the one I use 95% of the time.
Freeform Pen Tool: For the Scribblers
Draw freely like you’re sketching with a pencil. Photoshop turns it into a path. It’s less accurate, more fun—but a bit messy for pro-level work.
Curvature Tool: The Easy Rider
If you’re nervous about curves, start here. Click to place points, and Photoshop handles the curving for you. Seriously, it’s like training wheels for the Pen Tool.
Using the Pen Tool: A Simple Walkthrough
Here’s the basic flow. Think of it like connect-the-dots—but you’re the artist.
Step 1: Click to Place Your First Anchor
Start anywhere on your image. Just click once. That’s your anchor point—a kind of digital thumbtack.
Step 2: Keep Clicking (Straight Lines)
Click again somewhere else. Photoshop draws a straight line between them. Easy!
Step 3: Click and Drag (Curved Lines)
Want a curve? Click and drag this time. It creates direction handles that shape the curve. The longer the handle, the smoother the curve. It’s like pulling taffy—go slow and steady.
Step 4: Complete the Shape
Keep clicking and curving until you’re back where you started. When you see a little circle appear, click to close the shape.

Fixing Mistakes Without Panic
Don’t stress. Everyone messes up. Here’s how to fix it without throwing your computer out the window.
How to Move a Point After Placing It
Hold Ctrl (or Cmd on Mac), then click and drag the anchor point. You can shift it anywhere you want.
Adjusting Curves with the Direct Selection Tool
Hit A to switch to the white arrow tool. Then click a point and adjust the handles to refine the curve. This is where the magic happens.
Turning Paths into Selections
Once your path is done, it’s not just a line—it can become a powerful selection.
Right-Click → Make Selection
Right-click on the path and choose “Make Selection.” You can then copy, mask, or fill the selected area. Snip, snip!
Add Feathering for Smoother Edges
When the dialog box pops up, add 1-2 pixels of feathering. It softens the edge just enough to make it look natural.
Creating Vector Shapes Instead of Just Paths
Want your Pen Tool lines to become actual shapes? Totally doable.
Difference Between Paths and Shapes
Paths are outlines. Shapes are filled forms that live in your Layers panel. You choose between them in the top options bar.
Choosing Fill and Stroke Colors
Once you’re in Shape mode, pick a fill color (inside the shape) and stroke color (outline) from the toolbar. Suddenly, you’re not just editing—you’re designing.
Tips That Saved Me (And Will Save You)
Let’s talk real-world hacks—the stuff you won’t learn in the manual.
Zoom in Like a Sniper
Hit Ctrl + to zoom in. Trust me, detail work with the Pen Tool is so much easier when you’re up close and personal.
Use Fewer Points for Smoother Curves
I used to think more points = more control. Wrong. Fewer points make cleaner, smoother curves. Let the handles do the heavy lifting.
Start Small: Trace Icons and Logos
When I was learning, I traced the Instagram logo. Perfect mix of straight lines and curves. Practice like that builds confidence fast.
Common Pen Tool Mistakes (Yep, I Made These)
Here’s what tripped me up—and how to dodge those potholes.
Too Many Points = Mess
Overloading your path with anchors makes editing a nightmare. Keep it lean.
Oops… Wrong Tool Again
Photoshop resets sometimes. Always double-check that you’ve got the right Pen Tool selected, especially after switching modes.
Forgetting to Close the Path
If you don’t close your path, selections won’t work right. Always loop back to that first point!
Final Thoughts: Why It’s Worth Learning
Mastering the Pen Tool is like learning to drive stick. Frustrating at first, but once it clicks? Pure control. Whether you’re editing portraits, crafting logos, or cutting out products, this tool gives you pixel-perfect results every time.
You got this. The Pen Tool’s not a monster—it’s just misunderstood.