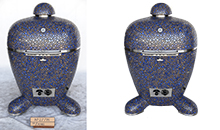
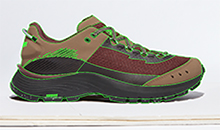
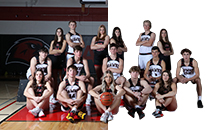
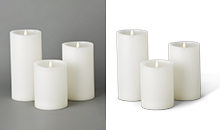
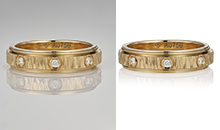
Clipping Paths are vector line descriptions encircling your image files that indicate where the image should be ‘clipped.’ It is normally used clipping mask to knock the background out of an image, but really, it can be anything that you want, like-drop shadow, donut shapes, words, etc. The path travels inside the image file and can be activated and turned into a standard selection for soft-edge feathering, filtering and all that other great Photoshop material. This is an added bonus for people buying your images because you save them the extra work of making clipping paths on their own.
Step 1:
Open the Photoshop CC photo editing software, then open your image and select the Photoshop Pen Tool and the Paths option in the left corner of the top menu bar (as opposed to the Shape Layers option so that you don’t get a color-filled and stroked shape).
Step 2:
It’s important to zoom into your image at least 100% so you can really see the edge of what you’re tracing. Zoom more if you want an upper layer mask, it may be the highest 600%, but 300% is usually good for work.
Step 3:
Trace all around your figure until you re-connect with the starting point. You have to do it whole.
Step 4:
Work better when you create a clipping mask and put points on either side of the corner instead of just one in the middle, but this is up to you. Try different placements to get the most accurate line with the least amount of points. Simple is better.
Step 5:
Your path is done and looking tight. The first thing is to go to the Paths palette and select Save Path from the little options arrow pop-up. Give your path a name (because you have lots of different paths for different objects, etc), save it in JPEG format with a new name, and click OK.
Step 6:
When you are happy with the image masking path, choose the basic Clipping Path and from that Path palette pop-up menu select the name of your path (this is the Working Path that you just saved). I usually leave the Flatness-device pixels box blank, but you’re welcome to research the effects of different values in Adobe Illustrator.
Click -OK and Save the file as JPEG.
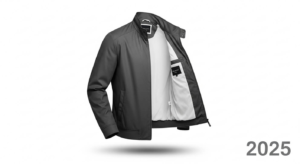
Now, you get a new image that is without background. And if you want it, you can set it with another image. Then, you will get a new image from the old one that looks different.
We are from Adobe Photoshop clipping path service, helping you to do your image clipping by our Professional Graphic Designers, who are experts in Adobe InDesign. You can contact us at the following address:
Email: info@clippingpathzone.com
Skype: clippingpathzone
Website: www.clippingpathzone.com
