


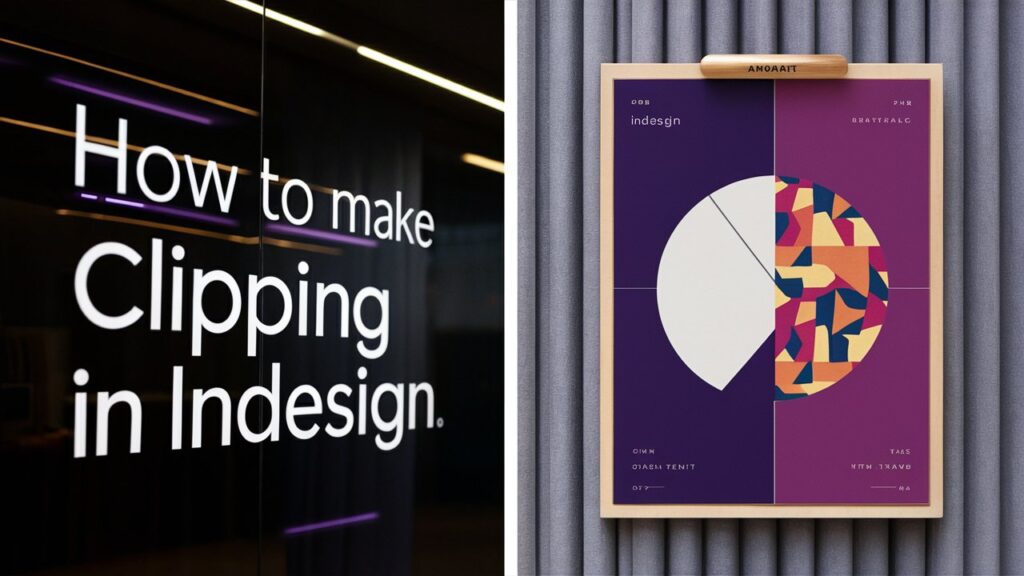
What’s a Clipping Mask, Really?
A clipping mask in InDesign is like using a cookie cutter on a photo—you pick a shape, and only the part of the image inside that shape shows.
Short answer: It lets you crop images creatively using shapes or text.
It’s a great way to spice up layouts without diving into Photoshop. You stay in InDesign, stay focused, and still get that professional look.
Why I Fell in Love with Clipping Masks
Let me tell you a quick story. When I was designing my first print ad for a local coffee shop, I wanted the photo of their latte art to appear inside a heart shape. I had no clue how to do it in InDesign. I googled for hours. When I finally discovered the “paste into” magic? Game. Changer.
Clipping masks felt like discovering a secret handshake that only real designers knew.
Before You Begin: Set the Stage in InDesign
Think of this as prepping your kitchen before baking—you want your tools in place.
Quick Setup Checklist
- Open a new document (File > New).
- Choose the right dimensions (I usually go with A4 or US Letter).
- Set margins if needed.
Bringing Your Image into the Canvas
Use File > Place (Cmd/Ctrl + D) to import your image. Drag to place it or click once to drop it at its full size.
Quick tip: Always use high-resolution images (300 DPI for print).
If you’re preparing photos for commercial use, consider using a professional ghost mannequin service to enhance your product shots before importing.
The Beginner-Friendly Way to Make a Clipping Mask
Here’s the part where you breathe easy. This is way simpler than it sounds.
Step-by-Step Guide (Super Simple, I Promise)
Step 1: Place Your Image
Hit Cmd/Ctrl + D, select your image, and click to place it.
Step 2: Draw Your Shape
Use any shape tool—rectangle, ellipse, polygon, or even the Pen Tool.
This shape will act as your “cookie cutter”.
Step 3: Align Them Like a Pro
Position your shape on top of the image. Use the Align panel to center them if needed. Make sure the shape sits above the image in the layers.
Step 4: Paste That Image In
Here’s the magic:
- Select the image → Cmd/Ctrl + C.
- Select the shape.
- Hit Cmd/Ctrl + Alt + V or go to Edit > Paste Into.
Boom. You’ve got yourself a clipping mask!
Want to master more pro techniques? Try this tutorial for multiple clipping path service and see how it helps with layered edits.
Tiny Tweaks That Make a Big Difference
Once the mask is in place, don’t walk away just yet.
How to Resize Without Messing It All Up
Click once to select the whole masked group. Click again to select the image inside the shape. Now resize using the corner handles.
Hold Shift to maintain the proportions.
Swap Out the Image Without Starting Over
Want to switch the photo?
- Right-click → Content > Graphic.
- Then go to File > Place and choose your new image.
Everything else stays the same frame, size, position. It’s a time-saver.
Looking to polish your images first? Explore our photo retouching services to remove distractions and enhance visual quality.
Let’s Talk Text: Masks with Words
This part is a crowd-pleaser. Using text as a mask adds real flair to your design.
Making Your Words the Star
- Type your text using the Text Tool.
- Convert it to outlines (Type > Create Outlines).
- Place your image behind the text.
- Select both → Object > Clipping Path > Make Compound Path → Paste Into.
Now your image appears inside the letters.
Need inspiration? See how image masking techniques can add extra punch to your typography.
Design Tips for Maximum Impact
- Use bold fonts. Thin fonts don’t show enough detail.
- Choose high-contrast images so the text stands out.
- Keep background elements minimal.
Short answer: Use bold text and contrasty images for readable, stylish masks.
Want to go further with text-based design? Read our in-depth tutorial on how to use the Pen Tool in Photoshop for perfect outlines and paths.
My Favorite Advanced Trick
This one’s for when you want to impress clients—or just yourself.
Using Compound Paths for Cool Effects
Combine multiple shapes (like stars and circles) into one mask.
- Select all the shapes.
- Right-click → Make Compound Path.
- Then use Paste Into to clip your image.
Short answer: Compound paths let you create masks with multiple shapes combined.
Pathfinder: Your Secret Design Weapon
The Pathfinder panel lets you merge, subtract, and intersect shapes.
You’ll find it under Window > Object & Layout > Pathfinder. Play around with it—it’s the Swiss Army knife of shape design.
Oops Moments: Mistakes I’ve Made (So You Don’t Have To)
Yep, I’ve made a few rookie errors. You don’t have to.
When the Mask Just Doesn’t Work
If nothing shows up after “paste into,” chances are:
- Your shape isn’t on top.
- The image wasn’t copied correctly.
- Or the object isn’t a valid frame (like live text).
Files That Refuse to Behave
Certain file types (like SVGs or CMYK PNGs) just won’t cooperate. Stick with JPEG, PNG, or TIFF.
Quick tip: If your image won’t show, check the format and layer order.
Quick Tips for Polished, Professional Results
Crisp Images Matter
Low-res images will look fuzzy. Always design with high-resolution images, especially for print.
Vectors Are Your Best Friend
Shapes created in InDesign are vectors. They scale cleanly, stay sharp, and look great in any layout.
When to Use Another Tool Instead
Illustrator and Photoshop to the Rescue
If your mask idea is super complex—like fading edges or pixel blending—hop over to:
- Photoshop for pixel-perfect image control.
- Illustrator for intricate vector work.
Then import the finished image into InDesign. It’ll save you a headache.
Final Thoughts from a Fellow Designer
If you’re still reading, thank you—and welcome to the clipping mask club! It might seem small, but knowing how to make a clipping mask in InDesign gives you a design superpower. It opens the door to better layouts, cleaner visuals, and more creative freedom.
And hey, don’t worry if it feels tricky at first. We all started somewhere. With practice, it’ll feel as natural as dragging and dropping.
FAQs
What’s the fastest way to make a clipping mask in InDesign?
Use the Paste Into method: copy the image, select your shape, then press Cmd/Ctrl + Alt + V.
Can I use text without converting it to outlines?
Nope. InDesign requires text to be converted to outlines to act as a clipping frame.
Will the clipping mask print correctly?
Yes! As long as your image resolution is good (300 DPI), it’ll print beautifully.
Can I animate a clipping mask?
Not in InDesign. For animations, use After Effects or Photoshop.
What if I accidentally delete the image inside the mask?
No stress. Just select the frame, go to File > Place, and reinsert the image.
