


Clipping paths are a useful tool in Adobe InDesign that allows you to control the visibility of content within a defined shape. For using a Photoshop clipping path within InDesign, the process involves a few straightforward steps.
First, you need to ensure that the graphic in Photoshop contains a clipping path or alpha channel. Then, you can place the image in InDesign, select it, and open the Clipping Path options to choose the Photoshop path and preview the clipping path.
Adjustments can be made to the path in InDesign, including adding or deleting points. Finally, you can convert the clipping path to a frame.
This lesson will demonstrate how to use Photoshop Clipping Paths within InDesign. The following tutorial will explain what format to export to and how to apply the Clipping Path using InDesign’s built-in features. Also, we will guide you to the tools needed for photo editing the Clipping Path and converting it to a custom frame.
The Process of Using a Photoshop Clipping Path within InDesign
Using a clipping path, you can control the visibility of content within a defined shape in Adobe InDesign. Bringing a path from Photoshop into InDesign involves a few simple steps that ensure seamless integration.
Step 01: Checking and Save the Clipping Path in Photoshop
InDesign can use any graphic design that can save a clipping path or alpha channel, such as TIFFs or PSDs. We prefer to use the EPS format, as we have tried and tested it. The first task is to ensure the graphic contains a clipping path. This can be accomplished by opening the graphic in Photoshop.
If a path has been created, you can view it in the Paths palette, which is found by selecting Window > Paths. If a path is needed and you are uncertain how to create one, check out the wonderful Photoshop Basix tutorials on PSDtuts+ before proceeding. Otherwise, save your file in your preferred format.

Step 2
Ok, back to InDesign for photo retouching. To follow along with this tutorial, either open an existing project or create a new document. Go to File > Place to place your image. Click within the document to place it after selecting it once, pressing Open, then clicking within where it is saved.

Step 3
It is still necessary to select the image after placing it. Click once on the graphic to select if you’re not using the Selection Tool.
Step 4
In the Object menu, click the Clipping Path and select Option.

Step 5
Within the Clipping Path floating panel, open the Type drop-down menu and select Photoshop Path. The Clipping Path can now be viewed by checking the Preview tick box.
A Path menu is located directly underneath the Type menu. The path you choose is based on what paths you have saved in the graphic. Finally, click OK.

You will notice that directly under the Type menu sits the Path menu. If you happen to have more than one path saved in the graphic, this is where you choose what path to use. Finally, click OK.
Step 6
The path should be selected and highlighted in brown. It is also recommended to activate the Direct Selection Tool. With this tool, you can adjust the path. Simply click on one of the points to adjust or use the curve adjustment handles.

Step 7
Using the Pen Tool, you can add and remove points on the path now that it is an InDesign path. Click anywhere on the path to add a point by selecting the path with Direct Selection Tool, then choosing Add Anchor Point Tool. Additionally, you can click on points to delete them with the Delete Anchor Point Tool.

Step 8
Now that the Path is complete, you can convert the Clipping Path to an image frame. You can do this by selecting one of the current frames with the Selection Tool.

Can You Place a PSB File in InDesign?
PSB stands for Photoshop Big, and it’s a file format that can handle very large images. You can easily place a PSB file in InDesign by using one of these two methods:
- Drag and drop: Find the PSB file on your computer and drag it into your InDesign document. You can do this by clicking on the file and pressing the mouse button. Then, move the file over to the InDesign window and let go of the mouse button.
- Photoshop: Open the PSB file in Photoshop and then drag it to InDesign. You can do this by clicking the icon at the top of the Photoshop window and holding the mouse button down. Then, move the icon to the InDesign window and let go of the mouse button.
Why Is My PSD File Pixelated in InDesign?
If you want to use a PSD file in your InDesign project, you might encounter some issues with image quality or transparency. Here are some tips to help you import and display your PSD files in InDesign without any problems.
First, place your PSD file in InDesign using the Place command. This will allow you to link your PSD file to your InDesign document so that any changes you make in Photoshop will be reflected in InDesign. To place your PSD file, go to File > Place and select your file.
You can also check the Show Import Options box to adjust some settings for your PSD files, such as the layer visibility, the color profile, and the clipping path.
Second, you need to change the display performance of your PSD file in InDesign. By default, InDesign shows images in a low-resolution mode to improve the speed and performance of the software. However, this can make your PSD file look pixelated or blurry in InDesign.
To fix this, you can change the display performance of your PSD file to High Quality. To do this, go to View > Display Performance and select High-Quality Display. This will make your PSD file look sharper and clearer in InDesign.
Third, you need to manage your PSD file’s transparency and clipping paths in InDesign. If your PSD file has a transparent layer or clipping mask, InDesign will also import them. You can use these transparency effects to create clipping paths in InDesign, invisible shapes that hide parts of your image.
To create a clipping path from a transparent layer or mask, select your PSD file and go to Object > Clipping Path > Options. Then, choose Photoshop Path or Alpha Channel from the Type menu and select the path or channel you want to use as a clipping path.
How Do I Improve Image Quality in InDesign?
To make your images look sharper and clearer in InDesign, you can tweak the display performance settings. This will affect how the graphics are shown on your screen but not how they are printed or exported.
To do this, go to the Edit menu on Windows or the InDesign menu on macOS. Then choose Preferences and click on Display Performance.
In the Display Performance settings, you can choose the default view for image display. You can select from “Typical,” “Fast,” or “High Quality.” The default option may be set to a lower quality to make InDesign run faster. You can switch to the “High Quality” option to improve the image quality.
Remember that this setting will apply to all the documents you open or create in InDesign. So if you change it to “High Quality,” all your images will look better, not just the ones in the current document.
Conclusion
With the ability to clip paths and integrate Adobe Photoshop CC files, Adobe InDesign offers powerful tools for controlling and enhancing the visual content in your projects. Following the steps outlined, you can seamlessly bring your clipping paths from Photoshop into InDesign, customize them further, and even convert them to frames.
Also, you can leverage the flexibility of InDesign to place PSD files and enhance image quality through display performance settings.
We recommend you experiment with different images and paths within InDesign and Photoshop. You will discover some images work perfectly and others rely on Photoshop’s extra capabilities to achieve an accurate Clipping Path. Happy designing.

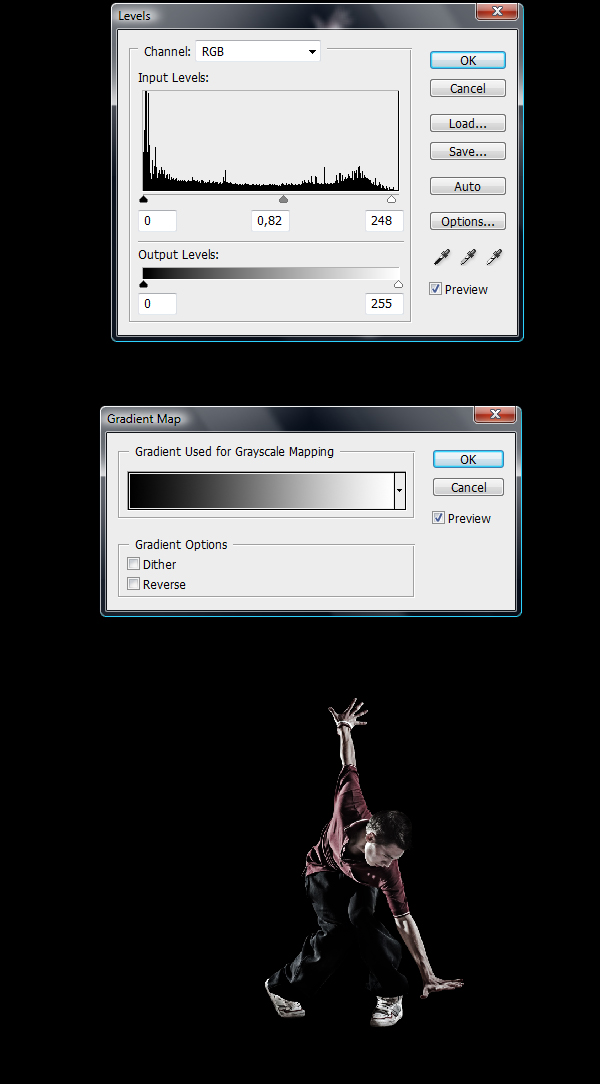
The image used for this tut comes from Photodune author Yuri_Arcurs.


