


Many poor-quality scans were created on expensive large format scanners whose product literature glows with the promise of quick and easy high quality scans. However, as the scans we receive show, there is no assurance of useful results when the scanner is used inappropriately for the drawing in hand.
This article sets out simple steps for creating high quality scans for raster image to vector image conversion. It is intended most specifically for users wanting to scan drawings for raster to vector conversion but once you have mastered this relatively simple process that largely a matter of learning to read your drawings and to use your scanner correctly that you will also be able to apply the improvements in image quality to the archiving of important drawings to give them and posterity the quality they deserve.
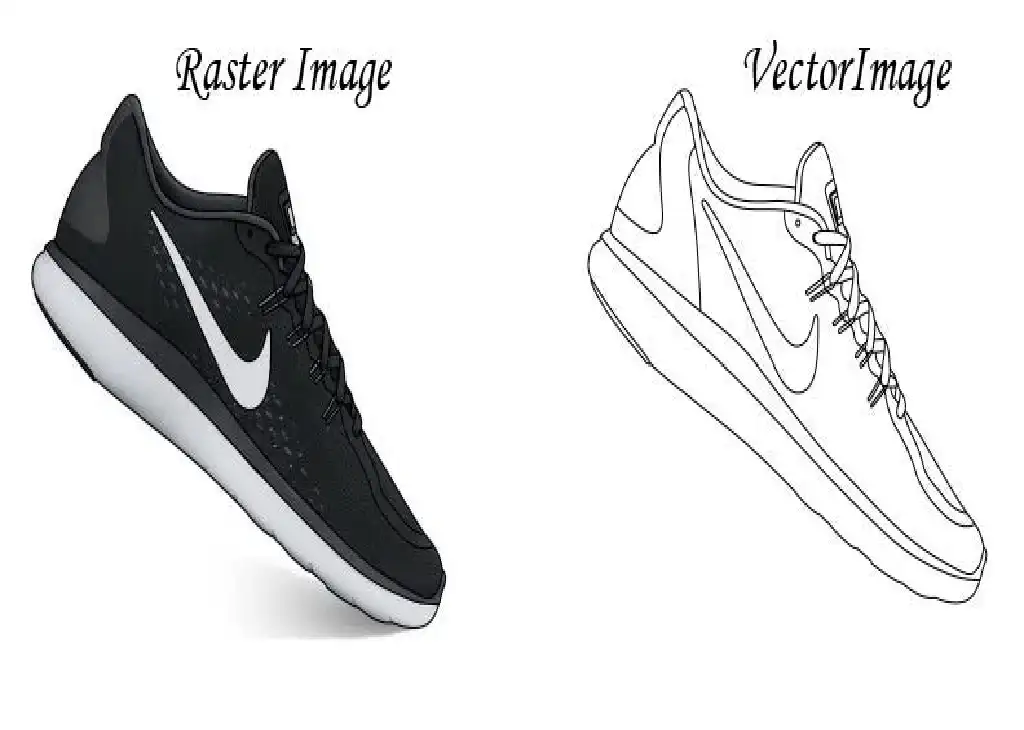
Here How Creating High Quality Scans for Raster Image to Vector Image Conversion
A high quality scan is one where the lines, arcs and text are clear, clean and unbroken. In some places close together entities are separated by clean white space and where curves are smooth.
Examples of high quality scans that can be converted by using a raster-to-vector converter:
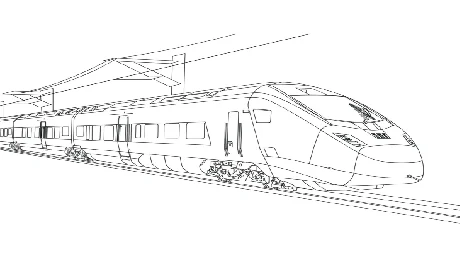
- High-quality scans comprising unbroken bodies and smooth curves. Text characters and parallel bodies are separated by clean white space.
- A poor-quality scan is one where the lines, curves, and text are broken.
- Poor-quality scans are blurry or are impossible to read even to the human eye, though have merged together.
- While some poor-quality scans can be mended using raster editing tools, several cannot. In this case, the scans cannot be converted using automated raster to vector conversion and the only course open to you if you need the drawings in vector format is to return to the drawing board / PC CAD system to redraw the image or to rescan the original paper drawing if you still have it.
Examples of poor quality scans that perhaps are mendable:
- Some are unsuitable for screening and printing, let alone raster to vector conversion. These are all real scans we have received.
- Entities are blobby and have merged into each other. Entities are broken and parts of the image are missing altogether. The lines have holes in them. Entities are blurred and have no definition. Entities are broken and are impossible to read even to the human eye.
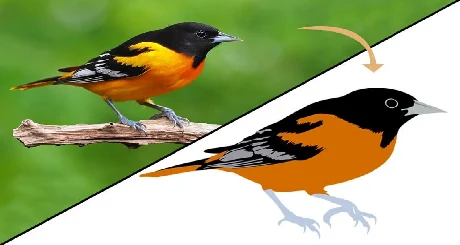
Images used by graph design programs can be categorized into two types, raster graphic images (sometimes called “bitmap images“) and vector-based images. A raster-based as well as a vector conversion service can be found. Such as Photo Editing, Illustration, Logo Design, Brochure Design, Book Cover Design, Leaflet Design, Billboard Design etc.
Photo Editors are raster-based
Pixels are tiny dots that make up a raster image. You can provide rich detail in an image by creating or editing it with dots. Changing the color of every dot is possible because every dot can be a different color.
Images rendered with raster images, like photographs, can appear rich and full of color. Raster-based programs do have some drawbacks, though Raster images are heavy files. All of the zeros & ones that are used to make up each pixel result in large file sizes. You must change each zero and one on your computer when editing. The editing process may be slowed down by this memory-intensive method.
The raster does not resize well. When you resize a raster image, the pixels just get larger, making the image appear distorted and thick or grainy. Photo editors, like Adobe Photoshop, use raster-based images to allow for precise editing and total freedom in image form.
Illustration Programs are Vector-based
Vector graphics-based programs approach image creation in a completely different manner. A vector art-based program does not create images on a pixel-by-pixel basis.
In creating high quality scans for raster image to vector image conversion programs, a cube would comprise thousands of pixels.
In a vector file-based program, the same square would be made of only four dots, one on every corner. These vector points mainly allow you to connect the dots on your computer. Every vector point has information in it telling your computer how to connect each point with straight or curved lines, and with what color to fill in the closed outline.
In the printed image, the vector points would be unseen. Because the computer has only four points in its memory, it is much easier for the computer to edit vector-based images. If you creating high quality scans for raster image to vector image conversion, it loses little or no detail.
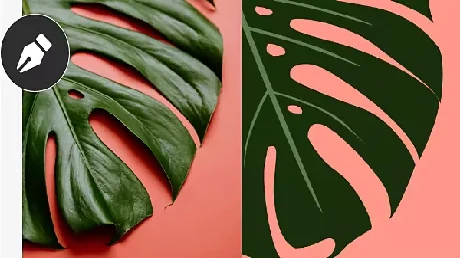
Computers just redraw images after vector points are spread out. You can easily fill color, or recolor, a vector-based image with the help of drawing programs. Vector images can also result in smoother lines because the lines are not tenderly drawn.
However, vector images are not without their drawbacks. They are normally filled with a solid color or a gradient but can’t display the lush depth of color that a raster can. They also work better with straight lines or extensive curves. Drawing plans, like Adobe Illustrator and Macromedia Unguided primarily use a vector-based drawing mode for clean lines and scalability.
If you need more information about creating high quality scans for raster image to vector image conversion then you can contact us at info@clippingpathzone.com or Skype: clippingpathzone


