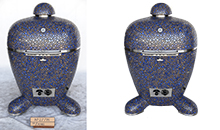
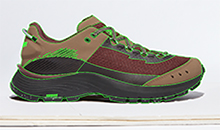
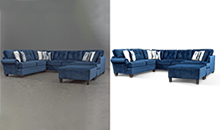
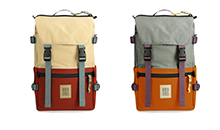
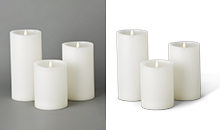
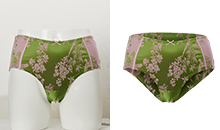
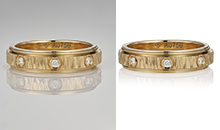
Today’s Adobe Photoshop tutorial is on how you can add realistic multiple shadows to objects in just a few simple steps. Let’s dive in!!
Isolate Object
This is the first step. Isolate the targeted object by using the ‘pen tool’. If you are not familiar with this yet, please check this tutorial: photoshop-pen-tool-beginner-tutorial
If you want to add a drop shadow to a text:
Select the Horizontal Type tool from the sidebar or press ‘T.’ Write your desired text and then right-click on the text layer in the layer window and click ‘Rasterize Type’. This will put the text on a layer with a transparent background
If you want to add the drop shadow creation on an object:
You must first separate the object from the background. If the background is transparent, then you can skip this step.
Creating the Drop Shadow
Now that you have your desired text or object on a separate cast shadow layer, it’s time to create a realistic image shadow layer.
For newbies, the Drop shadow dialog box is a good starting place. Double-click on the drop shadow layer with the object and the background layer style window should pop up. Select the drop shadow on the options on the left of the window and then mess around with the drop shadow settings beside.
Blend mode:
The blending options specify how your realistic drop shadow blends Gaussian blur into the layer behind it. A good choice to use would be the linear burn or the multiply option so that the drop shadow darkens that bit of area on the layer mask behind it. But do go through all the options so that you find the best blend mode that suits your image. Blend mode is also the place where you get to choose your drop shadows color. Click the black box shadow property beside the pulldown option bar to select a color.
Opacity:
This setting specifies how opaque or transparent your drop shadow effect is. Move the slider back and forth to find the right amount your image needs. 100% is fully opaque and 0% is fully transparent.
Angle:
This option allows you to change the position of the light source and thus the position of your drop shadow. Change the position of the spinner or change the value of the angle in the box to change the position of the shadow. It is recommended that you check the “use global light” option so that the position of the light sources on all other effects used (such as bevel and others) and so will produce a coherent image at the end.
Distance:
Here, moving the slider allows you to change the apparent distance between the object and the background.
Spread:
The spread option controls how much the edges of the drop shadows fade off. Usually, for normal shadows, keep spread to 0%, but if you require harder shadows, then start pushing the slider towards 100 and see where your shadows fit perfectly.
Size:
At 0, the size of your shadow is the same as the size of your object. Pushing the slider towards the right increases the size of your shadow in 1-pixel increments. This option is also a great tool to control the softness of the shadow.
Contour:
Contour allows you to control how the shadow fades off. Change the curve profiles to see which effect looks fitting. This option is only really useful if you need to make special glows so that the shadow falls in a unique shape or for abstract effects.
The “anti-aliased” checkbox, if checked, allows for a higher quality shadow falloff but at a drop in performance, but this drop is barely noticeable so it is recommended to keep the box checked.
Noise:
noise is the amount of textural roughness. Moving the slider away from 0 will increase the roughness or noise in the shadow and add texture.
Make default/ Reset to default:
The make default button will save the current settings on the effect as the default setting and the reset to default button will revert all the settings to the previously saved settings. This gives you the freedom to experiment without having to worry about losing your previous configuration. After messing around with all the settings, click on OK in the top right corner and you have yourself a drop shadow!!
Still confused? Just watch the awesome video tutorial created by our in-house designers posted in graphic design.
Product Shadow
Text Shadow
