


Final Product What You’ll Be Creating

In this Photoshop tutorial, we will explain how to create a metallic copper text effect using layer styles in photoshop. Let’s get started!
How to Create a Metallic Copper Text Effect Using Layer Styles in Photoshop?
Step 1
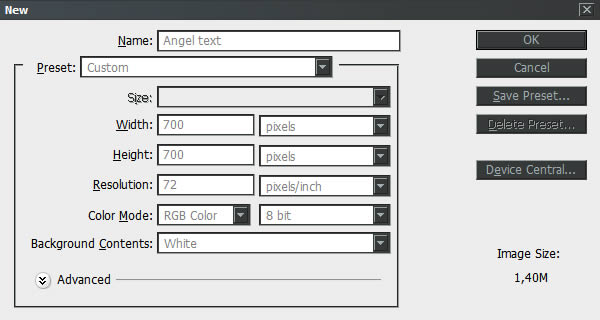
Create a new file to create a metallic copper text effect using layer styles in photoshop. Set the Width and Height to 700 px and the resolution to 72 PPI. Name: Angel text
Step 2
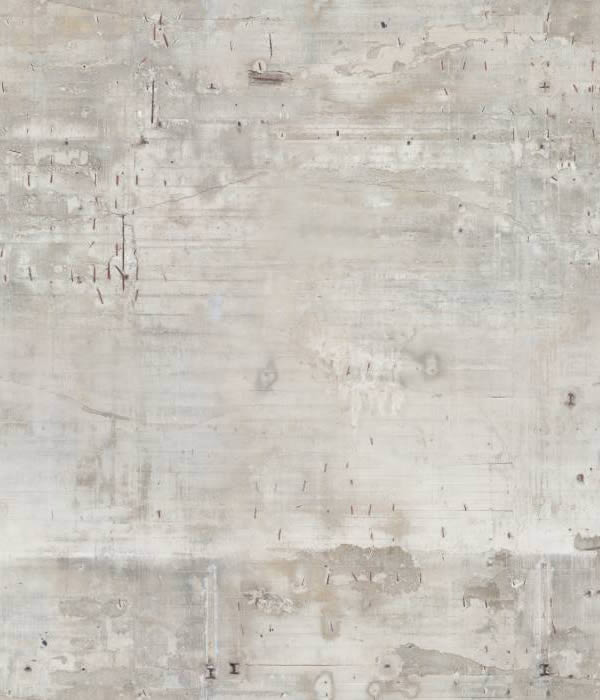
Fill the canvas with the Concrete Bunker texture.
Step 3
Marge the concrete bunker texture to the background.

Step 4
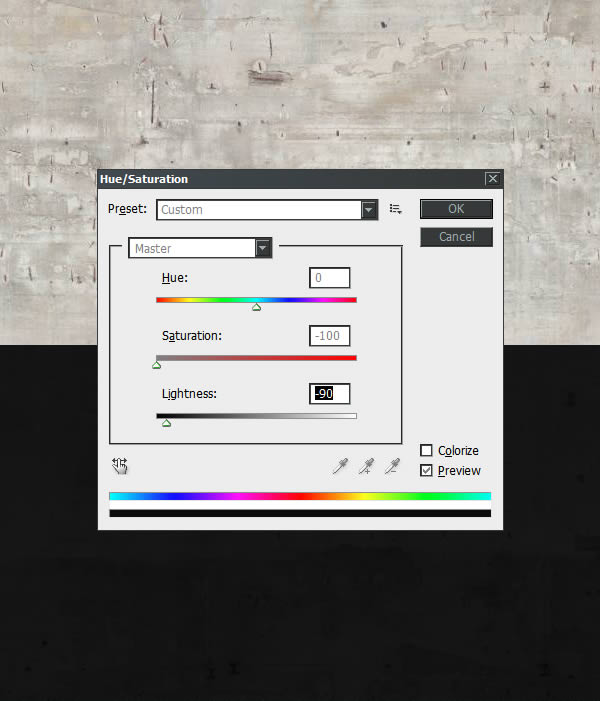
Go to menu > Image > Adjustments > Hue/Saturation > use the values as shown below.
Step 5
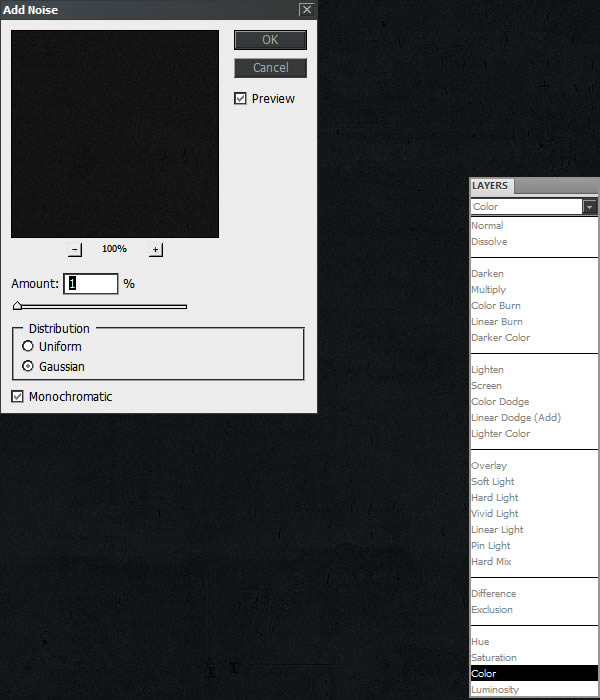
Apply to Sharpen twice: Go to menu > Filter > Sharpen > Sharpen. Add Noise: Go to menu > Filter > Noise > Add Noise > use the values as shown in the pop-up on the left side of the image below. Create a new empty layer over the background; fill it with color code #252829. Apply Blend mode “Color” as shown in the menu on the right side of the image below. Finally, merge it into the background (Command/Ctrl+E).
Step 6
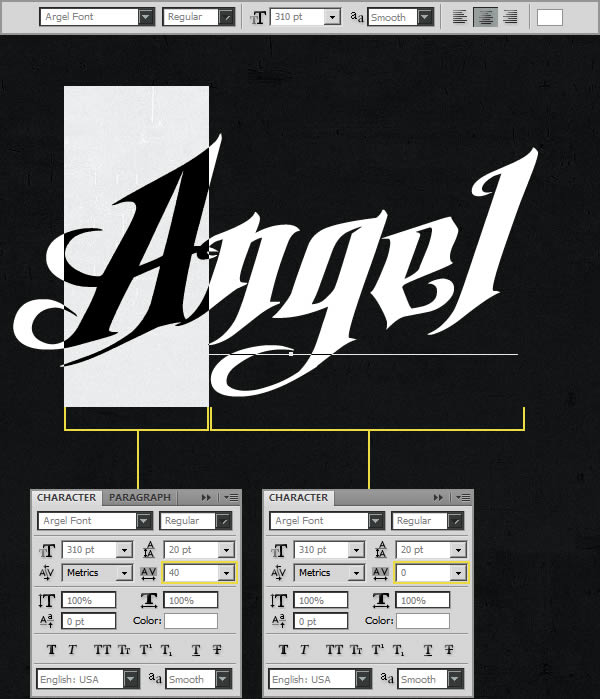
Type the word “Angel” using the “Argel Font”, font size 310 pt, tracking 0. Select the letter “A” and set tracking to 40. All values are shown in the image below.
Step 7
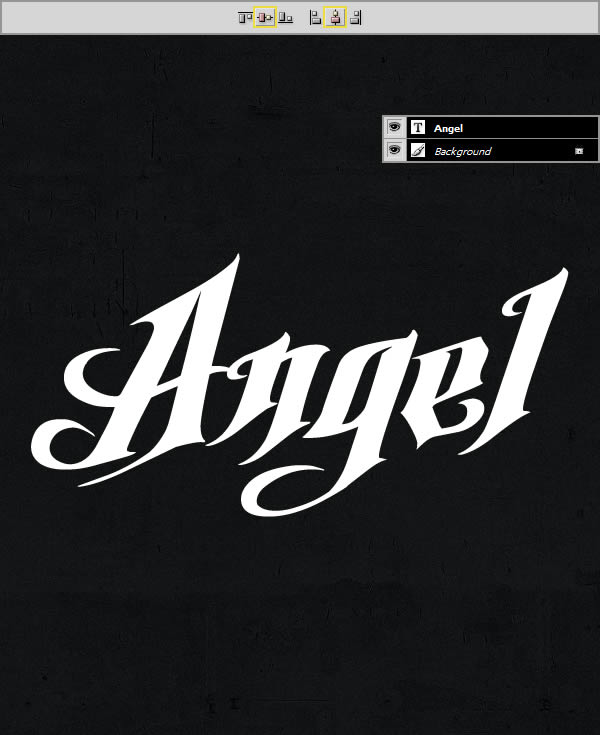
Using the “Move Tool”, select the text and background layer, then click the align commands: “Align Horizontal Center” and “Align Vertical Center” on the top menu to center it.
Step 8
Photoshop layer style can be applied to the text layer by right-clicking over the layer and selecting Blending Options. Set Blending Options step by step, as shown in the image below, and click OK.
Note: to edit the Gloss Contour in the Bevel and Emboss step, click the contour thumbnail to open the Contour Editor pop-up > click in the contour mesh to add points and enter values for Input and Output.

Step 9
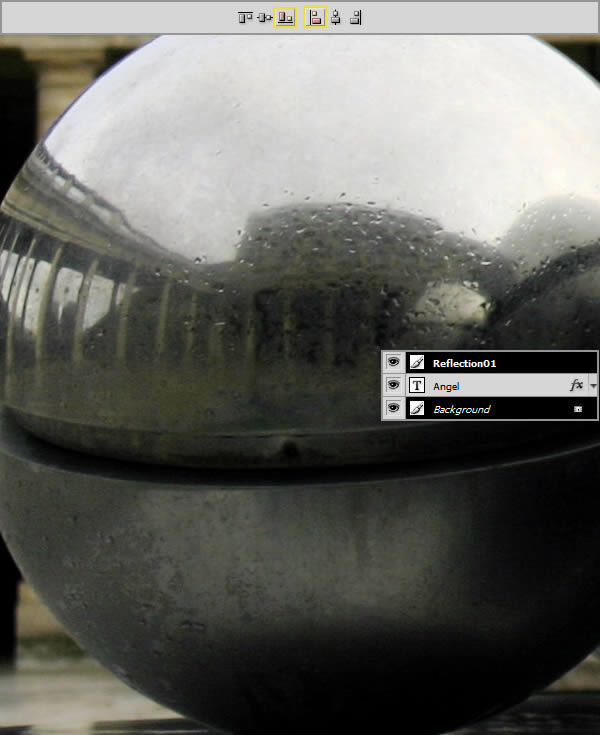
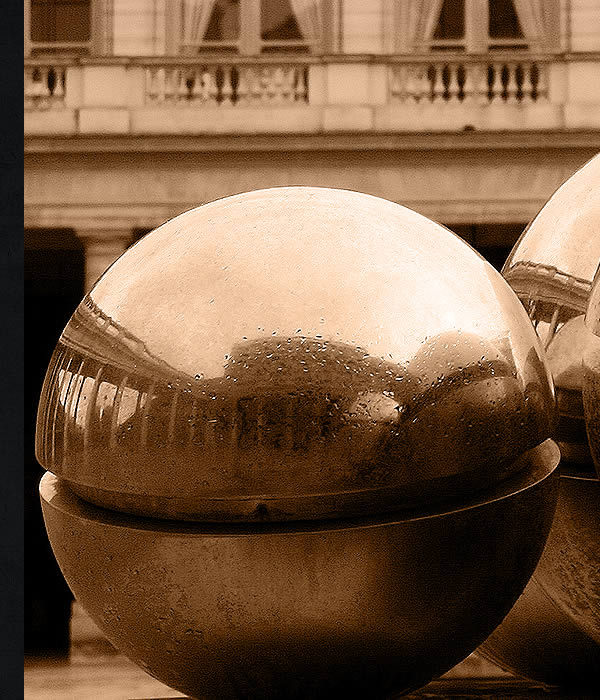
Copy the image “Palace Balls” from the browser, paste it over the 3D text layer “Angel,” and rename the image layer to “Reflection01.” Using the “Move Tool,” select the “Reflection01” image layer and background layer, then click the align commands: “Align Bottom Edges” and “Align Left Edges” on the top menu, as shown in the image below.
Step 10
Select the “Reflection01″ image layer and using the “Rectangular Marquee Tool”, right-click over the picture and choose “Free Transform”. Then lock the proportions with the loop icon “Maintain Aspect Ratio” on the top menu, as shown in the image below and reduce Width and Height to 70%, set Horizontal Position to 1099.2 px and set Vertical Position to -7.8 px and press enter.

Step 11
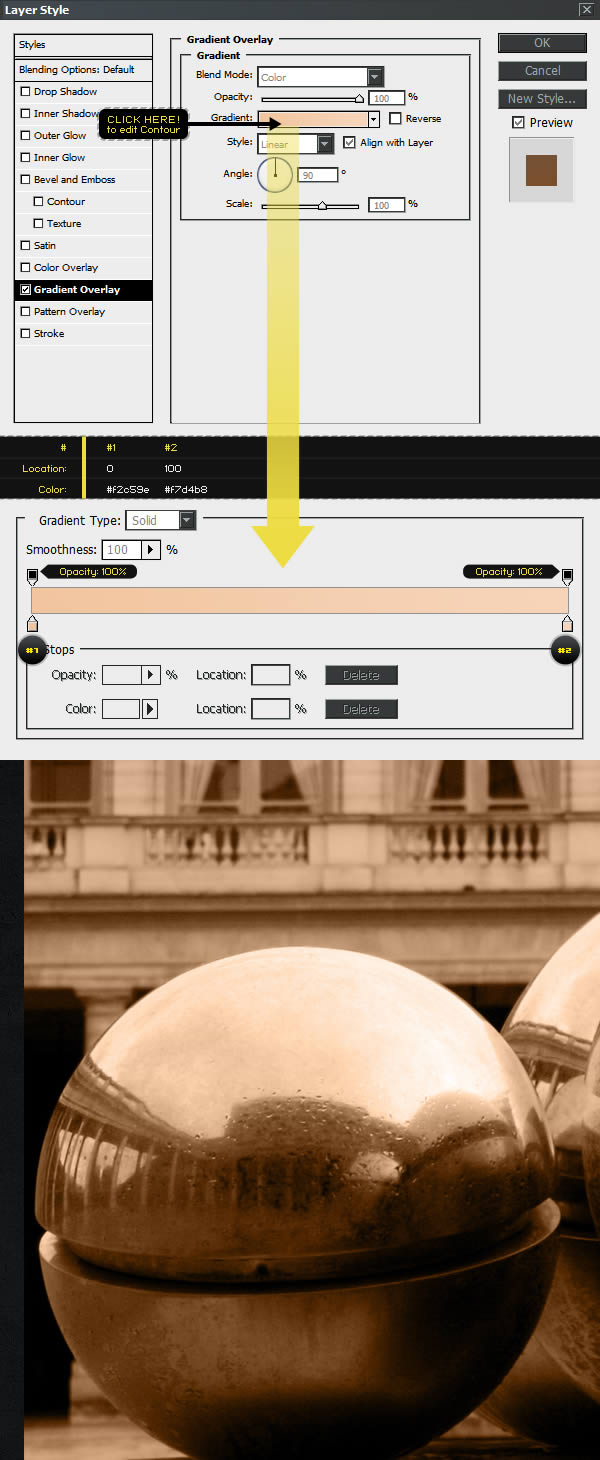
You can get a metal copper tone by applying a Gradient Overlay value to the “Reflection01” picture layer (right-click on the picture layer > Blending Options).
Step 12
Apply Sharpen thrice: Go to menu > Filter > Sharpen > Sharpen (remember to repeat this step three times to create a metallic copper text effect using layer styles in Photoshop).
Step 13
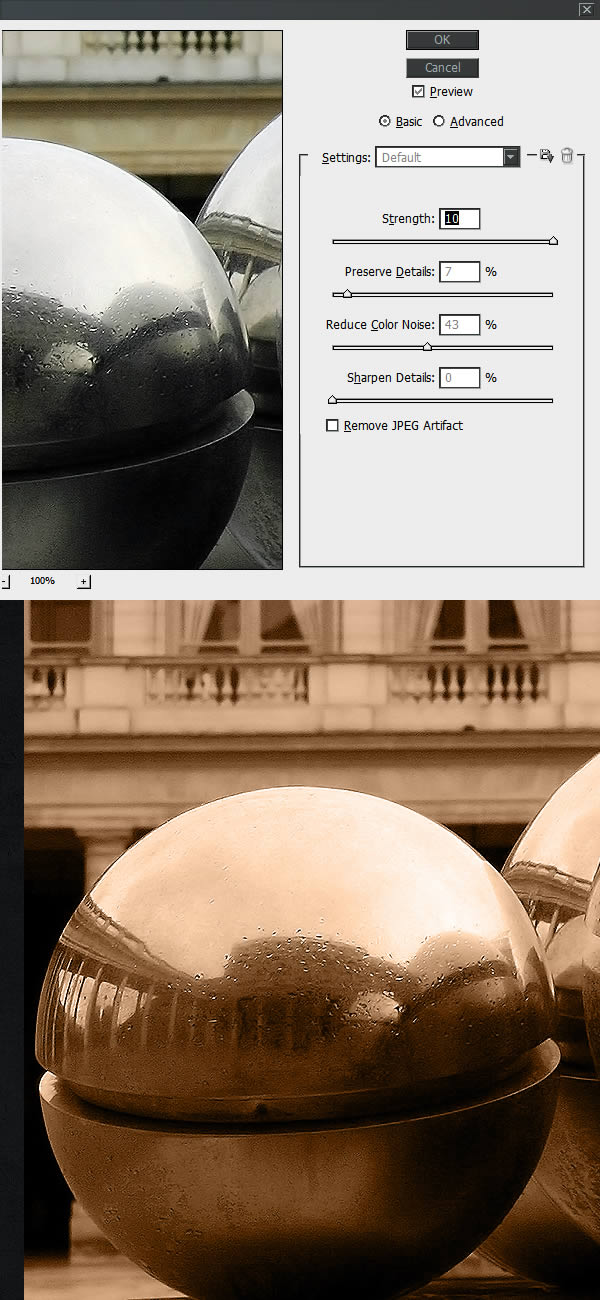
Reduce Noise: Go to menu > Filter > Noise > Reduce Noise. Using the values as shown below.
Step 14
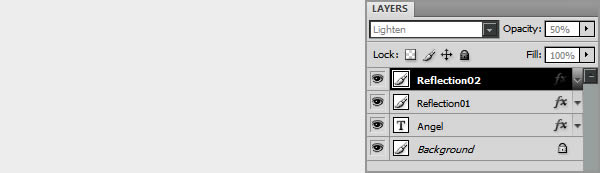
The duplicate layer “Reflection01” should be renamed “Reflection02.” Once renamed, blend mode should be set to Lighten and opacity to 50%.
Step 15
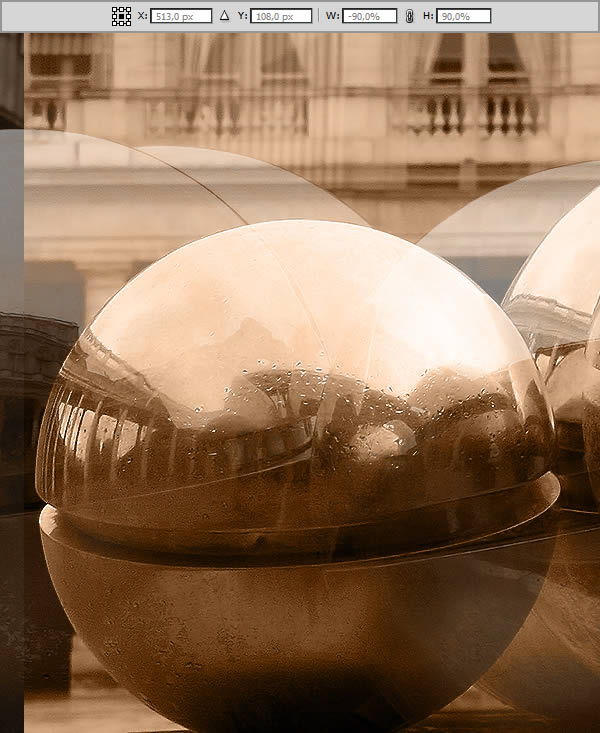
To achieve a stunning reflection effect to create a metallic copper text effect using layer styles in Photoshop, select “Reflection02″ image layer and using the “Rectangular Marquee Tool”, right-click over the picture and choose Free Transform > Flip Horizontal > and reduce Width to -90% and Height to 90%, set Horizontal Position to 513 px and set Vertical Position to 108 px as shown below and press enter.
Step 16
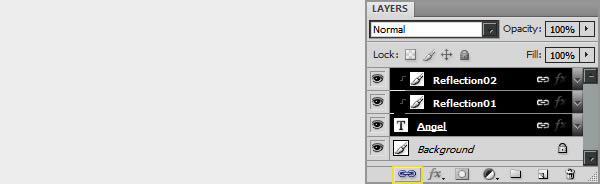
Select the two image layers and go to menu > Layer > Create Clipping Mask. The reflections should be placed inside the layered font. Finally, select the two image and text layers to link them by clicking over the “Link Layers” icon at the bottom of the layers palette. A link is needed to complete the text effect.
Final Image
Now you have completed the steps to create a metallic copper text effect using layer styles in Photoshop.


