


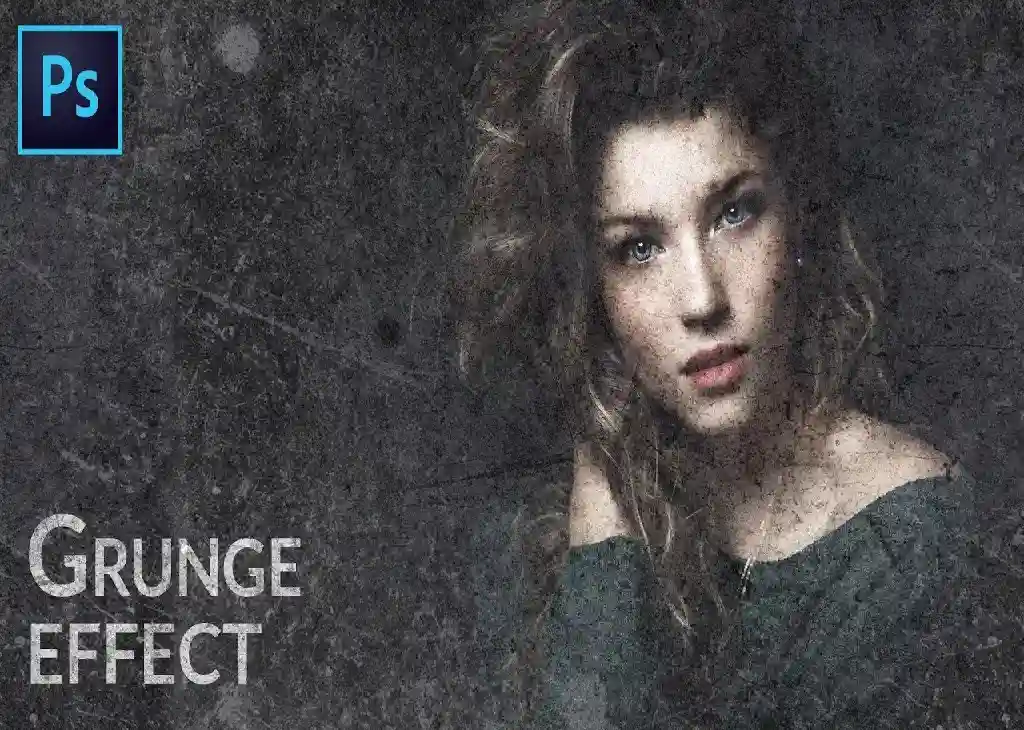
In this Photoshop tutorial, I will be walking you through the making of an interesting grunge photo effect.
Here’s the Tutorial of Grunge Photo Effect
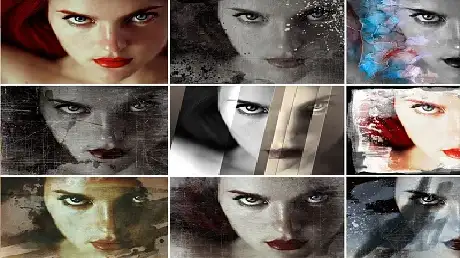
To start out, find some appropriate images for the grunge effect. For this, I went to Google Images and found this one image. Fill free to use it or try another one that you want to give the grunge texture. So, open the file and press Ctrl+J to duplicate the layer in the Adobe Photoshop Action. Once that is done, apply the following settings to Filter > Blur > Gaussian Blur to start grunge textures:
You can now play around with the layer mode, opacity, and fill. I tried Soft Light with opacity of 60%.
Ok, merge these layers in one again and change the hue and saturation of the image using Image > Adjustments > Hue/Saturation with the next presets:
Now your picture should look like mine:

After that go to Image > Adjustments > Levels and set up similar presets to these:
Press Ctrl+J again and change the mode of the new layer to a Lighter Color. Now apply Filter > Distort > Ripple using the next settings:
Then apply Filter > Stylize > Diffuse:
And the last one Filter > Brush strokes > Splatter:
After that get out the Eraser Tool with similar settings to the picture below and delete parts of the upper layer that cover up the image.
You should get something close to this:
Merge all layers in one again and duplicate the final layer. Then desaturate the image with image > Adjustments > Desaturate:
Ok, now select the Eraser Tool and a soft round brush (opacity about 25%, size of 100 px) and make clear some parts of an image.
After that to give the picture a cold shade create a new layer and fill it with color #011e36. Then make a selection as below using the Elliptical Marquee Tool.
Apply Select > Modify > Feather (Radius about 47 px) to feather selected area. Press Delete to clear the selected area.
Deselect it with Ctrl+D and change layer mode to Overlay, then set the opacity to 50% up:
If done correctly your image should look as great as mine!


